Finishing an Embroidery – Glue Framing Tutorial
Because the embroidery itself is not traditional in any way, my framing is not either. I’ll show you what I did though, maybe you can use it in some way.
I was inspired by what I remembered from Britta Lincoln’s exhibition that I saw last fall, where she painted the visible raw edges with gold acrylics and the frames where black fabric… I have no training in embroidery – or framing, so I went with what I had at home and some ingenuity of my own. Take what you have handy and go with that (Man tager vad man haver as we say in Swedish). Anyways.
Finishing an Embroidery
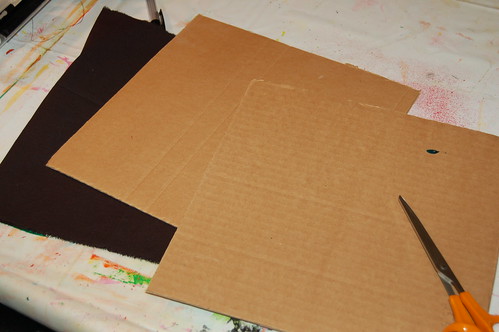
Cut out a piece of corrugated cardboard a bit bigger than your embroidery piece. I used this because it was all I could find in the right size, but corrugated cardboard is easy to bend to next time I’ll try to find something more sturdy but equally thick. Then I created kind of a cover, sewing two pieces of black cotton fabric together on three sides and placing the cardboard between the two pieces. It fit nicely, so I glued it closed on the fourth side.
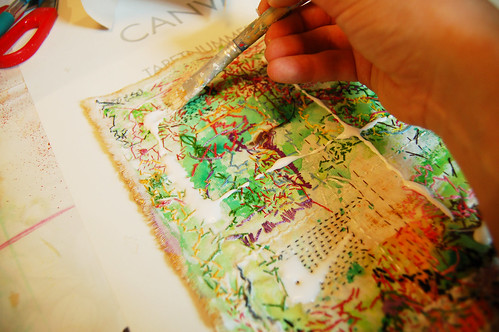
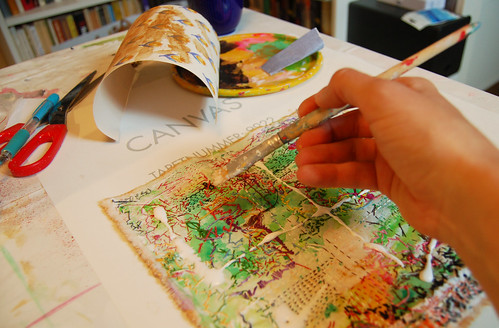
White fabric glue all over the back.
Then I put fabric glue on the back of the embroidery, and adhered it to the black “framing”. All this on my three mixed media pieces – just hours before the exhibition hanging of course… Aphu! I also sewed a thread on the backside for easy hanging, and Voil?:
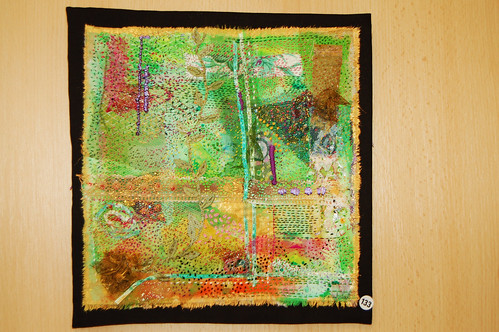
Framed and ready at the exhibit. I like how it came out!
Yay, quick easy and done!
Have you seen this embroidery video? It’s in Swedish but oh so beautiful and inspirational, watch here:
Be Free Embroidery Links
* Fiber Arts Mixed Media – ning-network with images, links and contests, add me as your friend when you join/log in.
* Contemporary Textile Art Pool – more photos at flickr
* * Mixed media Stitch Pool – photos at flickr
* * How to frame – Mary Corbet has done a great tutorial on “lacing” the backside to a piece of cardboard.

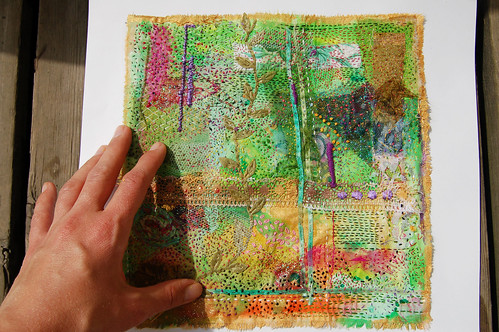

This work is absolutely stunning! You’ve framed it beautifully & so glad you sold one to someone who feels like you do about it. I can’t keep gold off my edges or inside the work, either!
Did you see your lovely postcard in yesterdays post? Thanks again!
My mother used to frame her embroidery the same way, cardboard and all. This piece is really beautiful and I love
the gold edge detail against the black.
Beautiful from start to finish, Hanna. It will be a star at the exhibition, I am sure !
well done!
looks nice, a good way to finish the frayed edges.
lovely embroidery piece and the frame idea is great
This is beautiful! Happy midsummer!
As a picture framer, I have done many embroidery pieces. We never use corregated cardboard in any framing job as the glues and processing contains acids which can outgas and so, even if not touching the work, can contribute to deterioration. We use acid-free matboard or foamcore. Also, spray adhesive will hold your work as well or better without soaking into the stitching.
Beautiful work, Blessings.