Gift Tag Tutorial Glitterlicious Style
I will not buy gift tags because I can make them myself. I don’t make them because I’m always so late when wrapping gifts! I don’t have the time for that last thing that makes each gift perfect… Catch-22, right? Nope, not this year!
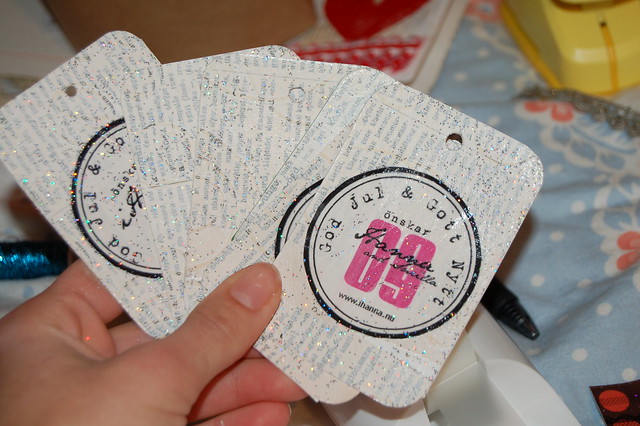
Look! I decided to make gift tags prior to wrapping the Christmas gifts and be a bit pro-active for once! In this way I won’t have to write my “to” and “from” on the wrapping paper this year! And once I had started, I could hardly stop myself.
Paper craft is so much fun, and add some glitter and I’m sparkling with joy! I’ve made a tutorial so that you too can give with glitterlicious style this year!
Tutorial: How to make Glittery Gift Tags
You’ll need cardstock, a thrifted book to tear pages from, glue, glitter and some tools.
Now, get out your papers! I used green cardstock and a thin text page from a vintage word book.
1. Glue the text page to the cardstock using gel medium (it’s like paper glue). Let it dry.
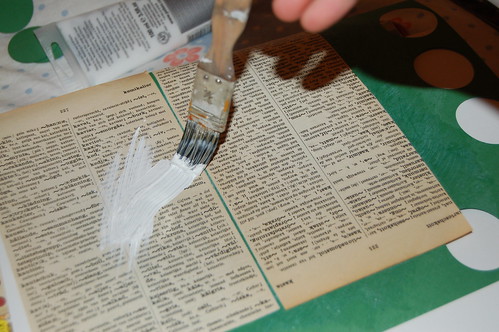
2. Coat the text page with some gesso or other acrylic paint to dim it down and make it more “backgroundy”.

Look through a few drawers for more tools that you can use on your handmade gift tags. I took out a cutting mat assigned for paper projects, my x-acto knife, a quilting ruler and the corner punches I’ve been talking about (whose packing I made the Christmas Tree from last week).
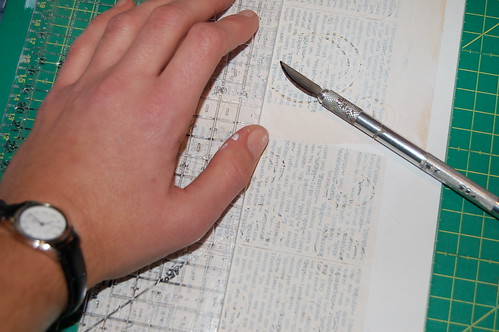
Then make up your mind on what kind of size you like. I made a few different sizes of tags, coz I’m thinking I need different tags for small and large presents. Though most of mine ended up being 6×9 centimeters (2.3×3.5 inches), which is quite large.
3. Cut a strip lengthwise then make the individual tags by cutting them down to tag size.
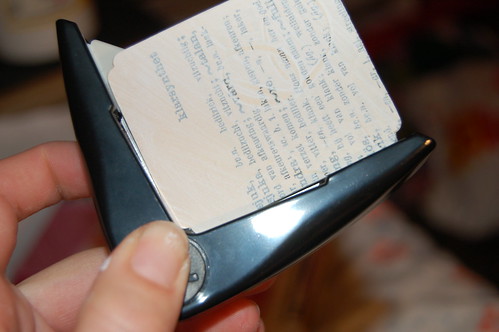
Now it’s time to demonstrate how much fun a corner punch can be!
If you don’t have one you don’t need to run out and look for it, you can round your corners with a scissor or leave them as they are… BUT if you do own a corner punch you know how fun they are to use. Punch, punch, punch, punch and all corners have an equal and perfect roundness to them! To me this is “that little extra” that made the Christmas Tags look professional enough, but still has that mixed media homemade feeling I wanted to share.
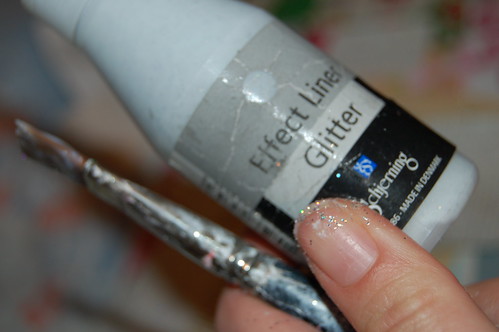
4. When the corners are rounded, how about some glitter? This is the Glitter Liners I was talking about when I made the White tree! I freaking love it!
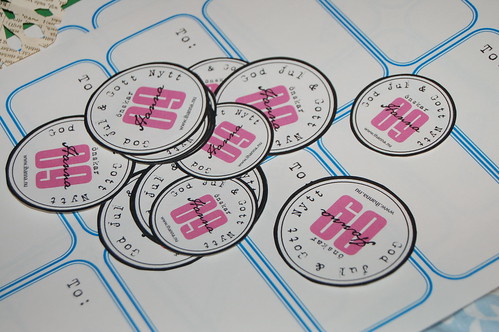
5. Glue on any kind of image you like. I’ve made my own stickers on the computer that say “Merry Christmas and a Happy New 09 from Hanna” on each one in Swedish. God jul och gott nytt 2009 önskar Hanna! You can cut out an image from a magazine, use stickers or draw something. Have fun with it, and make it your own.
Another handy tool is this one, looking like the statue of liberty:
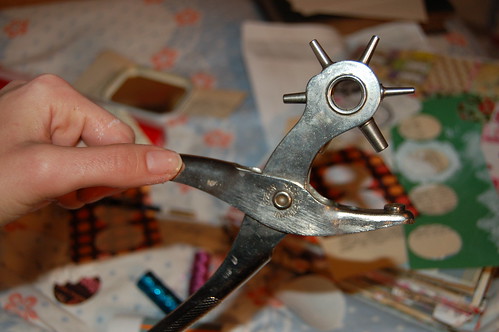
You can make a little hole with a needle or any other sharp object, but this handy tool will create a perfect round hole in the exact right size. That’s what my handmade gift tags need! See;
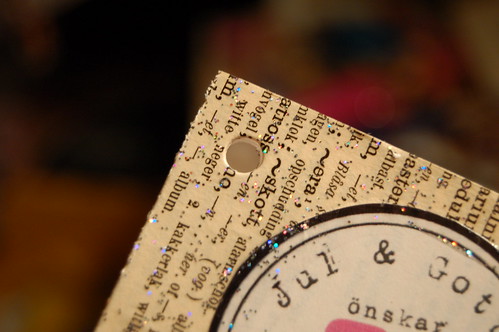
6. Add the tag to your yarn, string or ribbon! Wrap your package and feel accomplished, kind, generous and utterly happy with your self. You’ve made your own tags this year – wow!
Oh, how I love to combine glitter and creativity!
kind regards from your sparkling creative guide



Oh I love them!! I think I need to go out and buy some glitter:)
What fun, Hannah! I made some this week as I was giving my Advent angel gifts…didn’t have a chance to take a pic of them, but I so enjoyed myself!
Hanna, these are FABULOUS!!!
I have to post all my presents to people, so did them a couple of weeks ago, but I’m DEFINITELY going to make something along these lines next year. They are GORGEOUS!
God Jul from England and may your creativity reach new heights in 2009!
I would definitely need some sparkly dust now that i have read your tutorial. God jul!
These are so pretty! I am so late with Christmas projects I have been thinking of calling them New Year Gifts. The glitter would be so apropos, like bubbling champagne in the middle of a confetti party. I’ve got to see if I can find some of that stuff!
feliz navidad!
Very elegant tags! And yes, I love my corner rounder too!
*hugs*
Sophie
I love this project, Hanna. I made a bunch of tags this year, but I love this newsprint or bookprint effect, and the glitter! That hole punch tool is fabulous, too!
Thanks for another cool tutorial! God jul och gutt nytt 09!
Oh, Hanna! I just noticed that we were commenting on each other’s blogs at the same time! hA!
Thank you for your kind comment!
Those are gorgeous ….like a gift in itself! I think I will try some, but I will begin in October next year..