DIY Calendar Idea: Transparent Dividers
I am thrilled that so many of you are enjoying the printable pages that I shared with you guys last year! They are from my own DIY calendar, a design that I have been using and loving for years. And now you can join me in putting togethter your own Calendar! Yay!
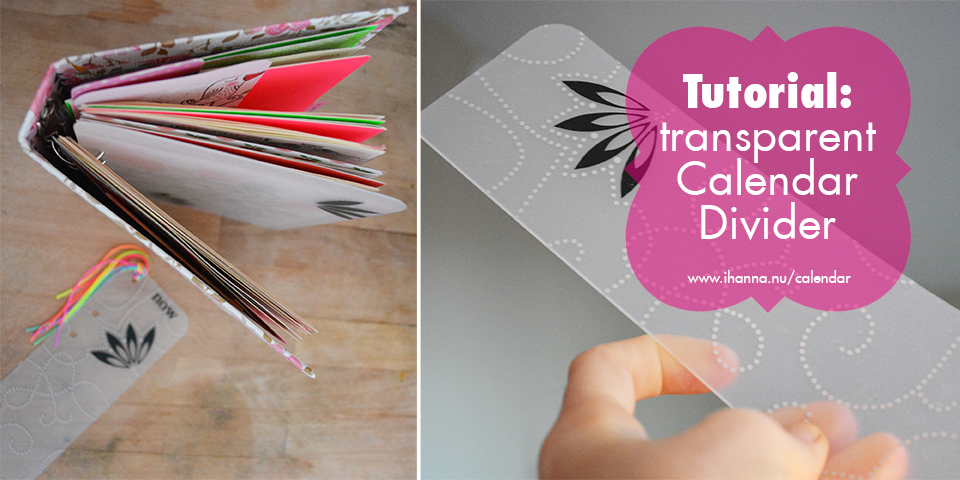
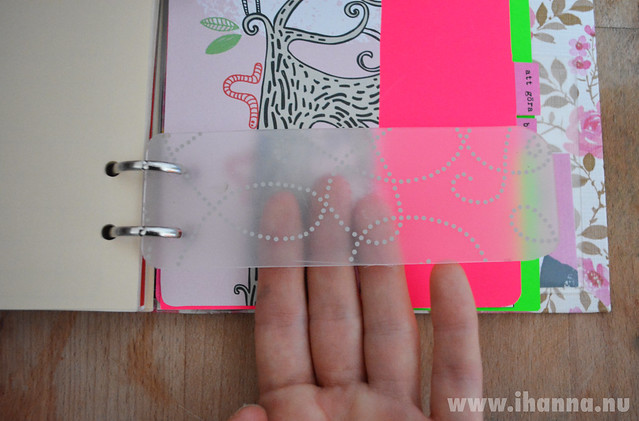
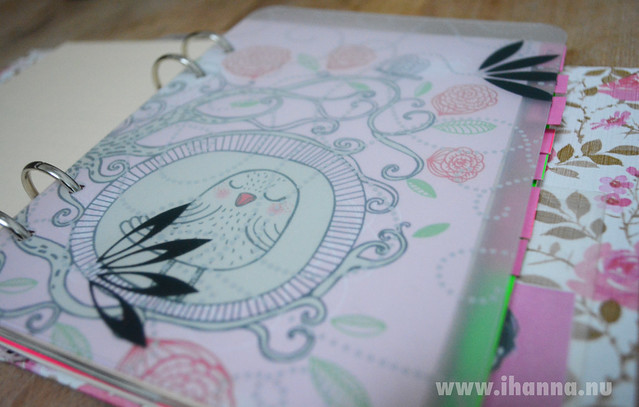
In a series of posts I want to share some fun ideas on what you can use to spruce up your own personal calendar project. First out, let’s make a transparent divider! I use mine all the time. It marks the current week, so that I can find today’s date quickly!
Divider tutorial
Get a piece of clear plastic and let’s start!
If you can’t find PVC as a craft material where you live, that is not a problem. I’m sure you already own my favorite material, or if not, you can easily find Clear Plastic Placemats online or in the kitchen isle of your mall.
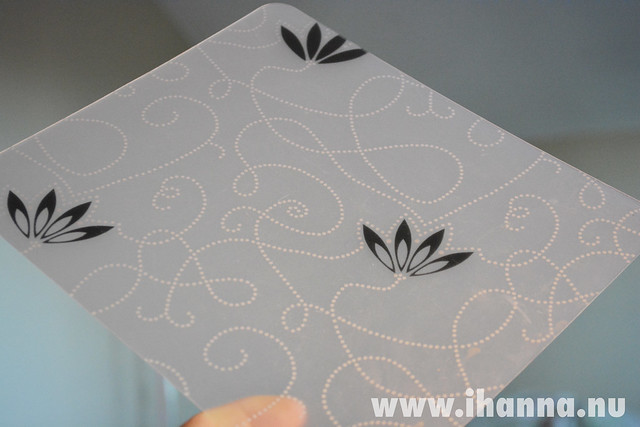
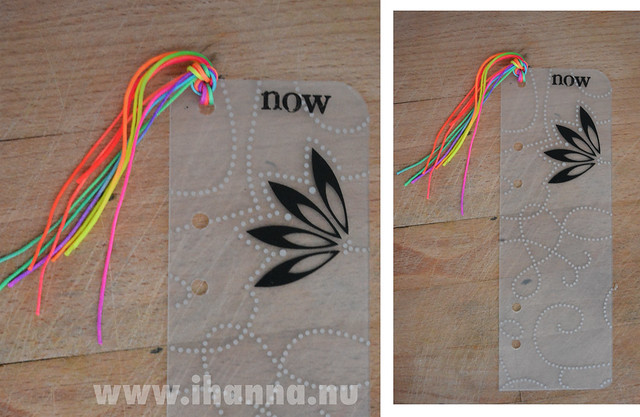
My transparent placemat has a pretty, graphic print too! Love that!
When I went browsing in the art shop in town today I actually saw pieces of PVC for sale, but as you know I love to recycle what I already own. What ever you use make sure your material is sturdy and durable. You will flip this tab a lot.
How to make your own transparent calendar divider
So, once you have your plastic material, get out your ruler, x-acto knife and cutting mat.
Measure your calendars height and cut a tab that will stick up a bit above the top edge of your calendar. That’s where it will be most handy, I think. What width you pick is totally up to you, mine is about 5 centimeters (2 inches) in width. It is not a page, just a book mark or date finder.
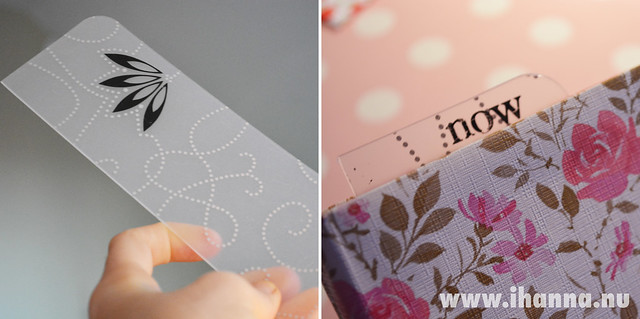
Once the transparent plastic is cut to size, you can customize it even more to make it fit your project and style perfectly. I rounded the corners of mine with a scissor, just making sure to remove the sharp plastic edge.
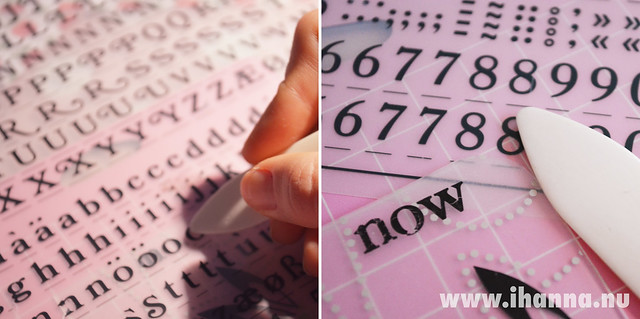
I used vintage rub-on-letters (that Sophie sent to me) to spell out the word “now” at the top. If you don’t have rub-on-letters you can print a word, cut it out and tape it to your tab. Of course the tab doesn’t even have to be transparent, you could make one out of cardstock, but I really like the look (and feel) of this plastic divider. And I love that you can use a placemat you already own (recycle people) and make new things.
Lastly I made holes with the hole punch, on the side to fit it into the ring binder, and one hole at the top, to add a little flair. I love the neon string that I bought online. Yum!
One placemat will create lots of tabs if you want to make extras, or one that goes sideways, horizontally like this:
Or even one big sheet that separates the calendar pages from “the rest” of what ever you put into your personal calendar:
One of the best things about my calendar system, made out of a small 4-ring binder, is that I can add in all kinds of things – when ever I want to! Love how flexible and smart that is!
It is similar to what you can do to a Filofax of course, but much more my style. The Filofax brand have never really spoken to me. I don’t like the leather cover look (to me it looks more like a cushion than a notebook, hehe). I tried using one once (many years ago) but couldn’t work with the lined papers, the lines are extremely narrow. Yuck. In my planner pages, and most of the notebooks I use, I avoid lines. Who need lines when you want to feel free to write how every big you need?
Free to create anything you need, when ever you need it. That is what I call a Do it Yourself Lifestyle.
Next week I will share how you can make your own tabbed index! So start building your own DIY planner and print some fun calendar pages right now!
Enjoy!
Discover more from iHannas Blog
Subscribe to get the latest posts sent to your email.



wow, very clever! the end-product is so gorgeous too. :)
I love the placemat you found, hope I can find one that cute!
Very cool idea. I love transparencies.