How to Start a Journal of Stitchery
I bet there are a gazillion ways to start a book of cloth pages, but this is how I’m creating mine. I thought I’d share how you too new can get started and join the project in case embroidery is something you’re into – or want to get into. This a great project to start on!
Journal of Stitchery is going to take about a year or so to complete, and I’m excited to get started on the pages!
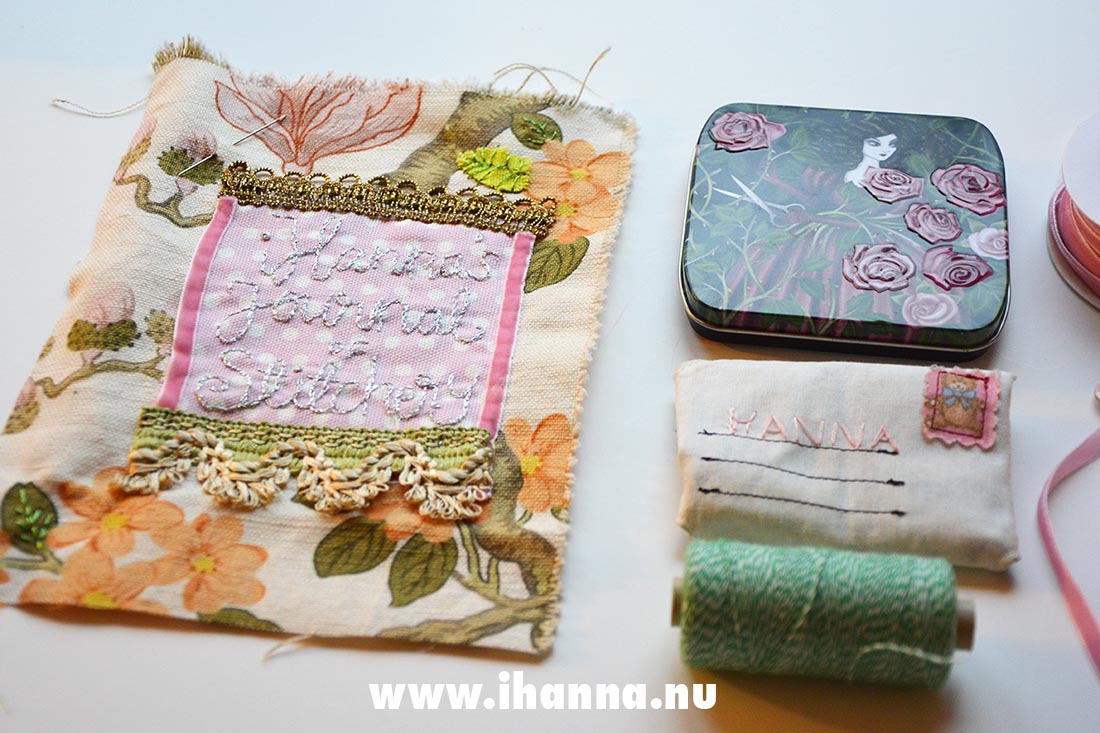
About three years ago now I started a cloth book this way, but I never finished it. I think I started it after reading Mandy Pattullo’s lovely Textile Collage, which I highly recommend (along with her new book Textiles Transformed that I am currently reading). In any case, as I’ve stated before, I’ve been increasingly interested in cloth in books (as pages like I did in my Summer Junk Journal) and mixing cloth and paper (as art), but I haven’t jumped in very bravely yet.
So now is the time!
This project, the Journal of Stitchery, is the brainchild of two sisters that is on YouTube, each with a channel of their own and living on different continents (!). They are very prolific, so I can’t say I watch it all, but I do follow both of them. Then at the end of last year, when they started talking about doing an embroidery book project, I got interested and decided to jump in too! And my mother, who also is an avid stitcher, is joining me again in a new year new book project kind of thing – which makes me very happy.
I love books, embroidery – and my mom, so the combination is simply? a delight.

I am not at all sure I will finish this book in a timely manner, or if I’ll make another video about it – but as mom and I got started on choosing a cover, making pages and doing a bit of stitching for the “intro page”, I turned the camera on and made this video. I thought it could help someone that wanted to jump in but was not sure where to start…
Video: Journal of Stitchery Start-up
Here’s how my mother and I got started on our Roxy inspired Journal of Stitchery one of the first few days of January:
If you can’t see the embedded video click here: Starting iHanna’s Journal of Stitchery.
How to get started with a book of cloth project
Like I’ve mentioned before there are many ways to start any project, but this is my suggestions for creating your first book with cloth pages. If you have any other ideas or suggestions, I’d love to hear from you. Or if you have questions post them below or in the comment section of the video.
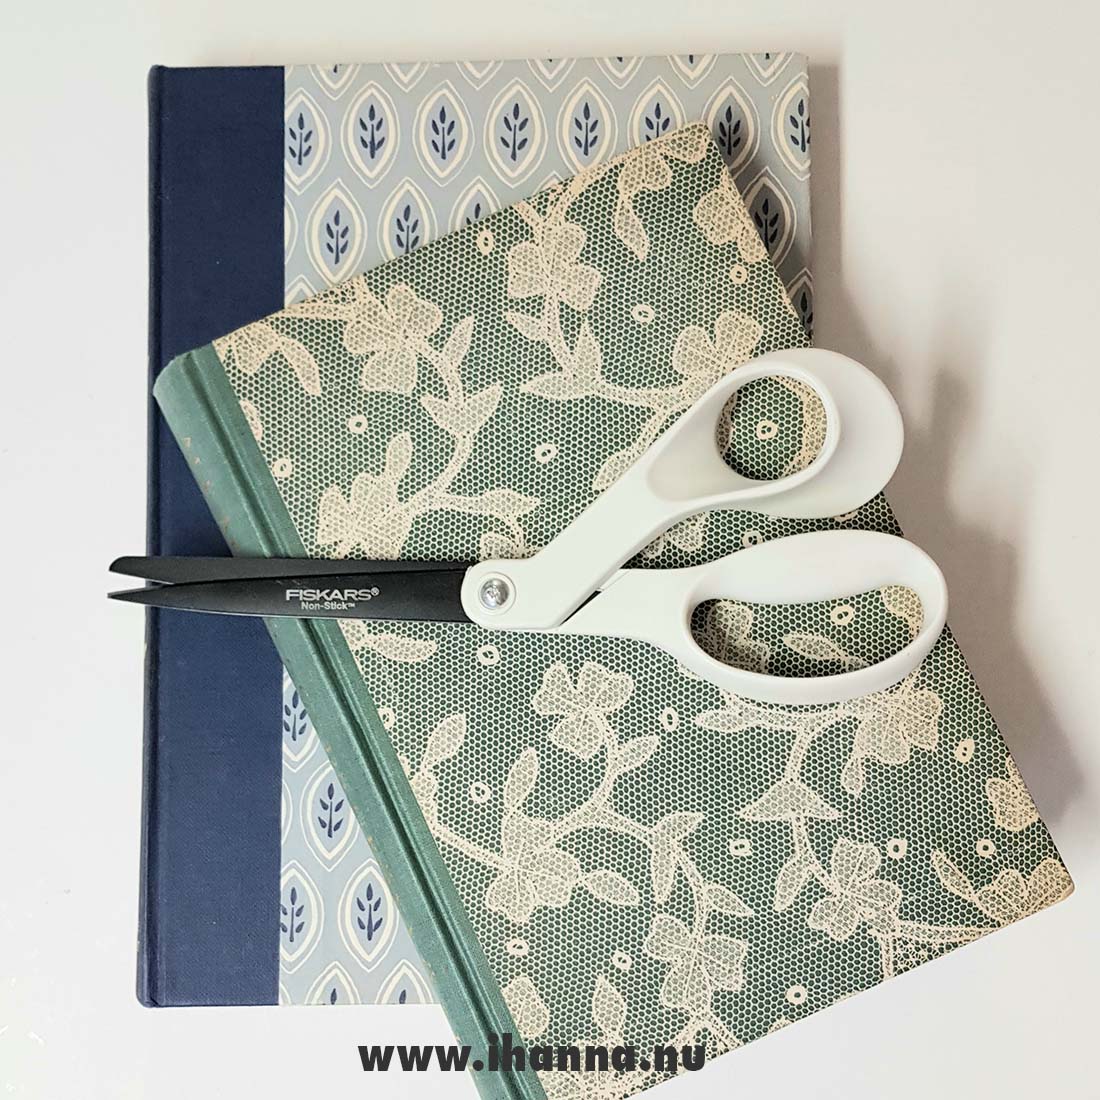
- Book Covers | Find a ready made book like we do in the video above, in a size that you feel is fun to work with. If you’re used to making hard-cover notebooks you can of course create the cover from scratch, cutting out the front and back board and a piece for the spine and so on. But if you want to make it easy for yourself, I suggest choosing a pretty book cover and gutting it. Gutting a books is okay (just recycle the pages).
- Pages |? Make the “pages” of the book from an old sheet or a thrifted, thin cotton fabric that you don’t care about. It should be a cloth that you do not care much about because all of these pages are going to be hidden in the end. The page should be as big as a unfolded book page is. You can stitch all of them together in the middle and through the spine of the book to make a big, chunky signature, or you can wait and stitch as many as you need when the interiors are done later on. That is how I’m going to create my book in the end.
- The content of your Journal | We cut out a panel of pretty fabric to stitch on top of, to embellish and create the first entry. It is the size of half a page, since the sheet pages will be folded in half when stitched into the book. Inside your book you can of course, do what ever you want! Or, follow along:
- Follow along | If you want to stitch along with the Journal of Stitchery project all through the year then it’s time to get started now. The first page is a title page, like the one me and mom started in the video, and then the theme of page two is “vintage lace” and “bouncing bunny” (called block 2). I think there will be a new theme every second month or so, since it is a slow stitch project.
- Be sure to check out the Roxy sisters so you can follow along with them too, Rachel is Roxy Creations and Sarah is Roxy Creations by Sarah – hence I call them the Roxy sisters.
I hadn’t planned on making a video, and that’s why the footage is kind of unplanned and scattered – but I still wanted to jump in and make a video about our start first thing this year so you could join! I love embroidery and want to do more this year!
Also I wanted to start a video series last year called Textile Love and then only managed to publish that one episode about mending a quilt, so I needed to make another video on that subject. I’m hoping that by joining this project I’ll find new stitchers to binge-watch on YouTube and meet new people on instagram as well.
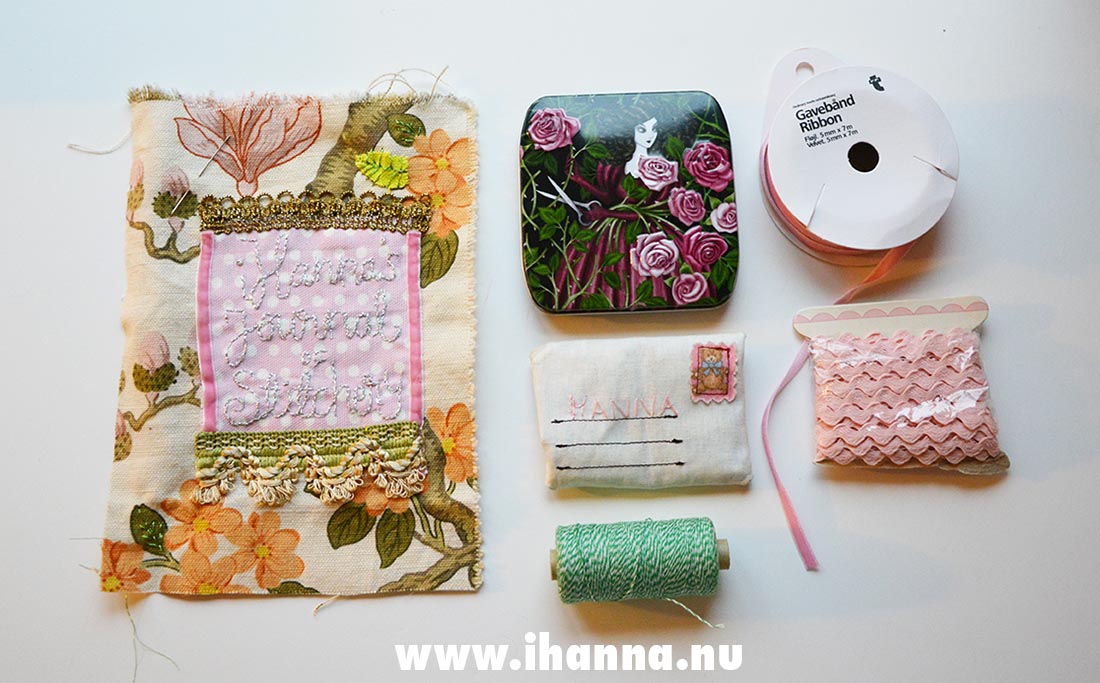
For now I need to get started on my page two of lace and bunnies I guess, but before I end this blog post here’s a few? things / ideas from my embroidery kit, things I consider must-have.

In the video I tried a baby blue ribbon as a frame for my title label, but later on I ditched that idea and went with this newly bought (at Flying Tiger) pink velvet ribbon. I got both pink and white, and I know I will use the heck out of them this year. I want a journal with this ribbon as closure ASAP! So soft, so pink, so lovely.
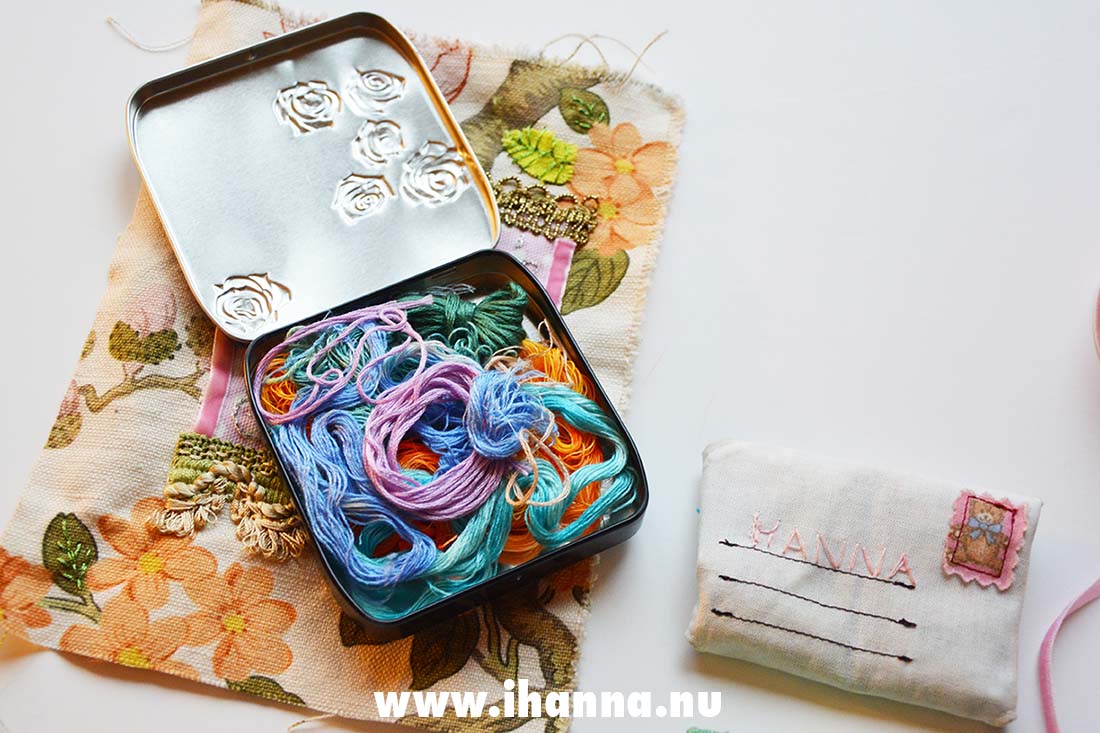
Another idea is to always carry a little tin box in your sewing kit, for divided and cut, embroidery floss. I love this one, with a evil lady stealing someone’s roses:
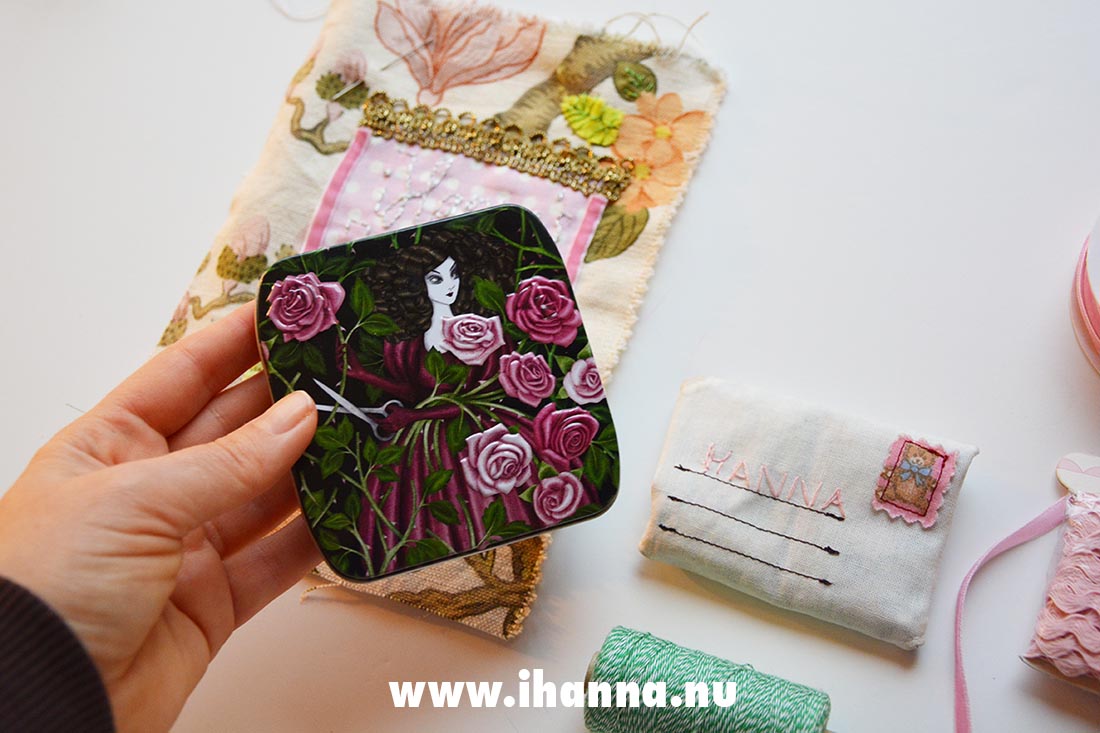
It’s not always this neat, but keeping stray threads out of the regular embroidery floss mess in the pouch is key!
Next to my embroidery thread box is my very tiny needle case, made by mom many, many years ago. It is sewn like a little envelope and on the front she embroidered my name (and yes, it IS spelled without an h at the end) and sewed a fabric stamp (from a cute teddy bear fabric). It opens up like so:
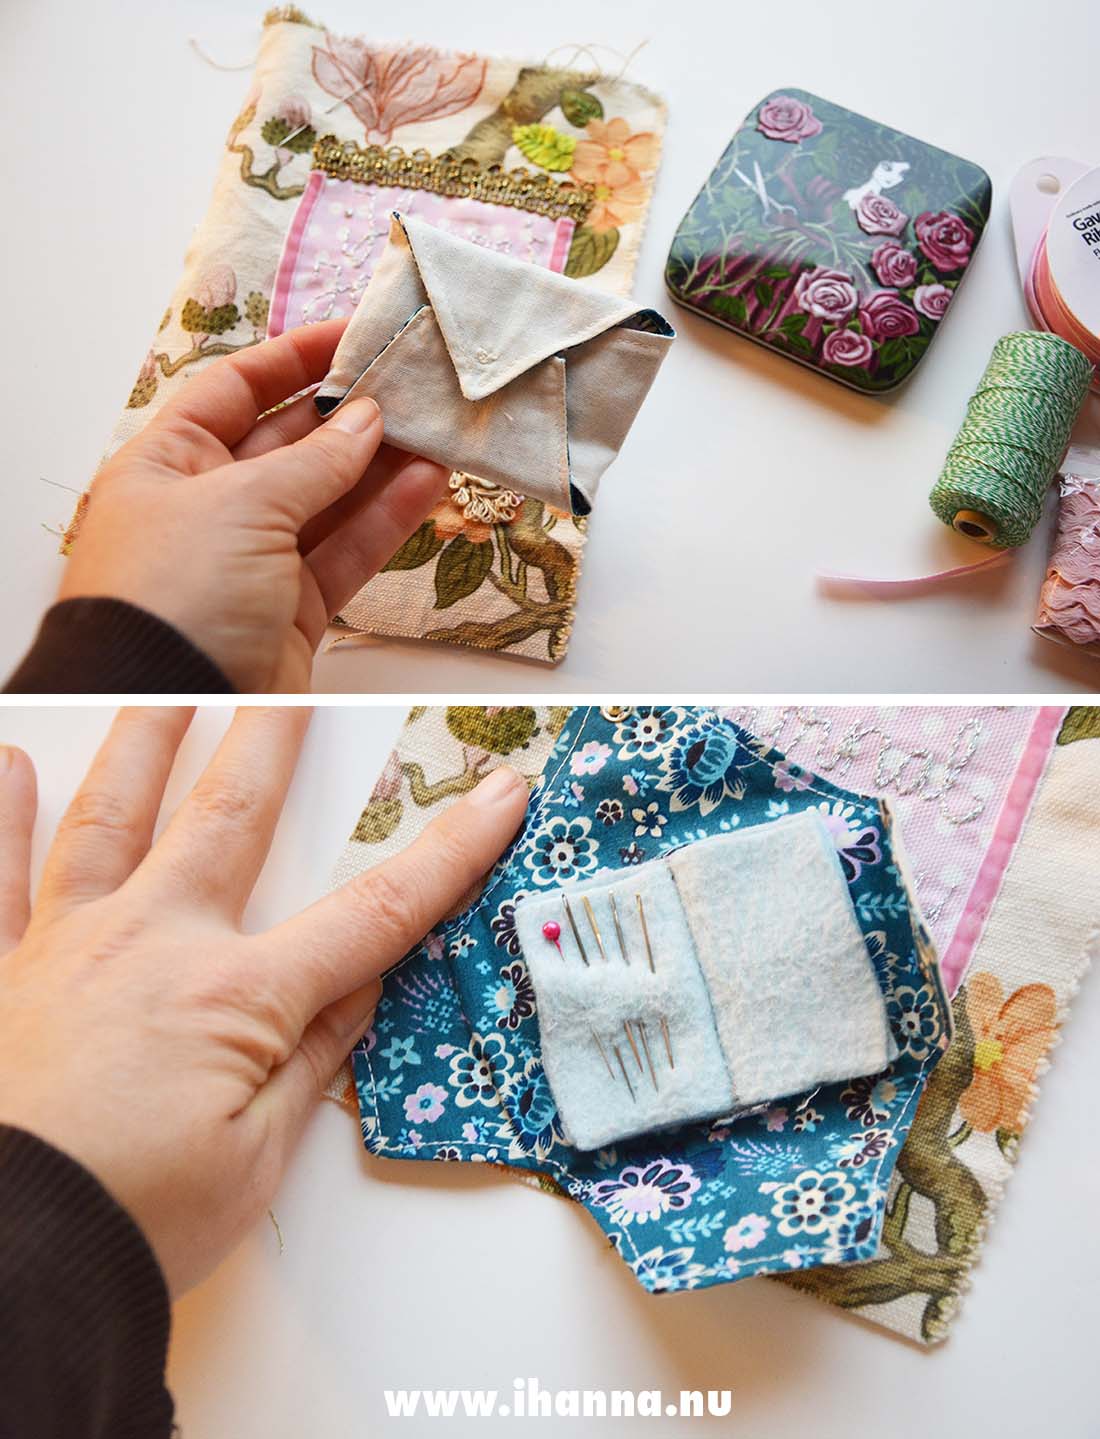
In Swedish this is called a n?lbrev (ie needle letter) so it’s visual pun as well as cute place to keep a few extra needles.
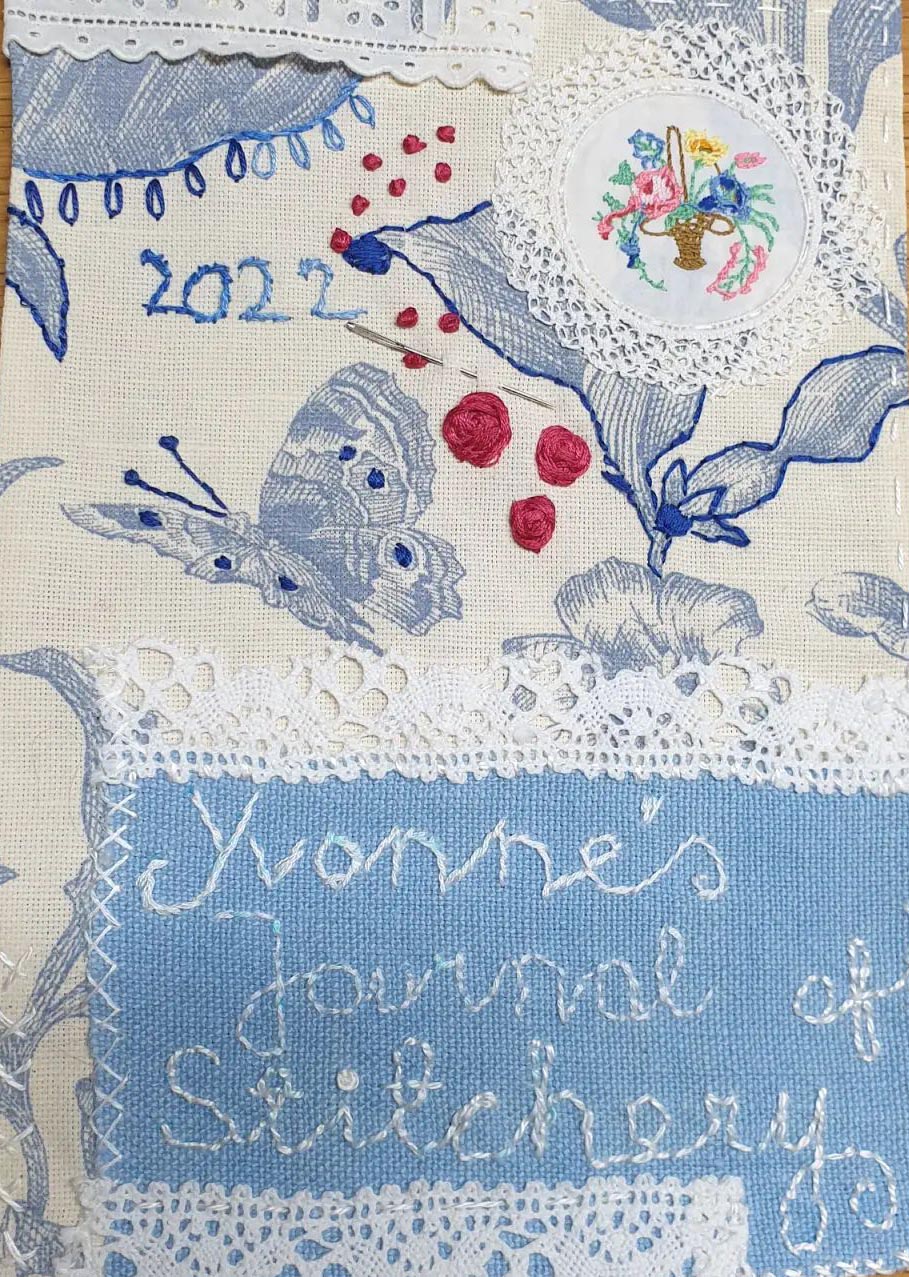
That’s all for today, except the final reval. Mom’s first page:
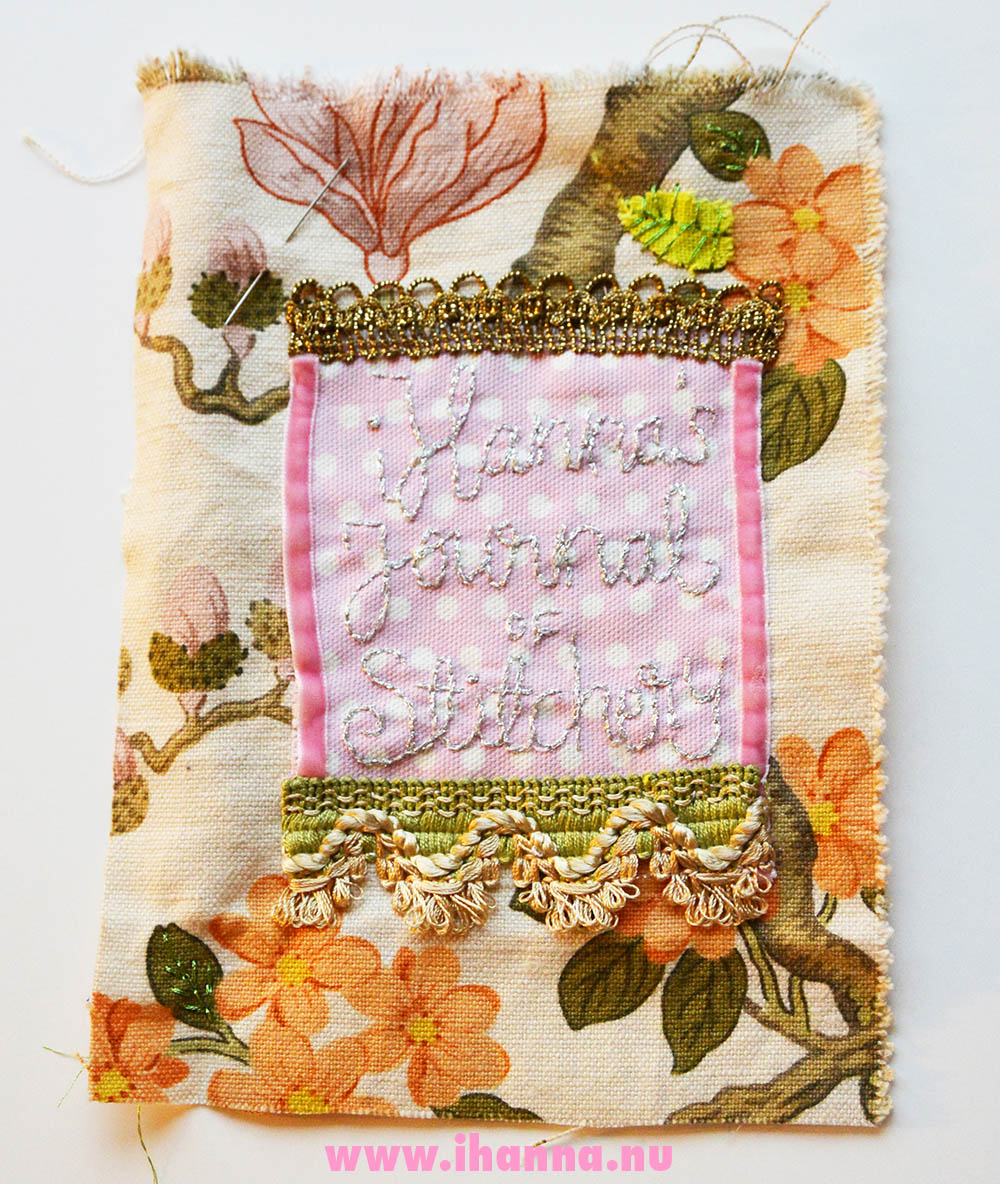
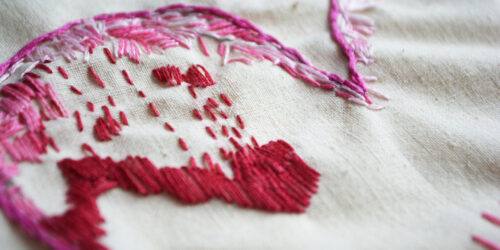
And my first page of the Journal of Stitchery:
I hope you found this inspiring, and that you’ll want to do a bit of hand-sewing soon. Maybe a page – or a whole book? Let me know.
If you need another stitching nudge, I have an online workshop called Stitch with Love that you can check out – perfect for beginners and those curious about free-form embroidery. Here’s a little sneak-peak of it:
Check out Stitch with Love
xoxo
Discover more from iHannas Blog
Subscribe to get the latest posts sent to your email.



Hanna, this stitchery journal sounds like an ambitious, but most rewarding project! I�d like to see if I can adapt the idea and maybe make a smaller version for my own. I am fascinated by both fabrics and embroidery, so I�ll look forward to more of your Textile Love and stitchery posts. You definitely have a fan here!
Lynn
Missouri, USA
Thank you so much Lynn, I am glad you found my blog and are a fellow textile fan. It really is rewarding to do a bit of stitching every now and then, isn’t it?
I look forward to seeing your project come together! And so exciting that you and your mom are both working creating together! I really enjoyed your class – it gave me several new ways to try embroidery! I�d highly recommend your class! Good luck on your Journal of Stitchery!
Aw, you’re too sweet Arielle. I very much appreciate YOU too!
This is so gorgeous! I have a fabric book that I created using canvas. I use iron-on interfacing to put my old embroidery pieces in it or little scraps fabric etc. I’ll have to share it on my blog sometime. It’s a lazy way to get a fabric book together! Ha! Yours on the other hand, is a work of art!
Thank you Laura, just as long as it gets you the result you want I approve of all things creative. For me, the slow stitching is my favorite part, not the end-result.
Cheers!
this is such a lovely idea -quite often I like to do embroidery with no specific project in mind, this would be a great idea for saving the pieces rather than leaving them in my stash!