How to make felted Easter Eggs
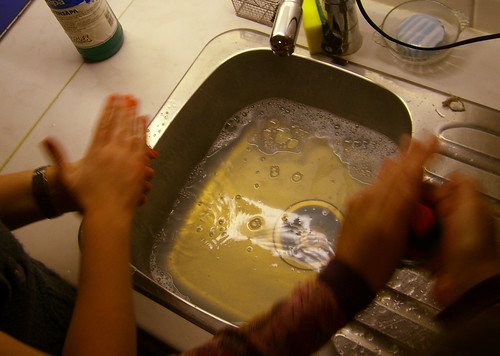
My cousin was over for another Craft Night this week. We had so much fun when we did the gingerbread houses that she wanted to challenge me for a bit of Easter Crafting. I haven’t laughed this much for a long time! We did Easter Eggs with wet felting and I snapped some blurry photos while we were creating… So here is another tutorial from yours truly!
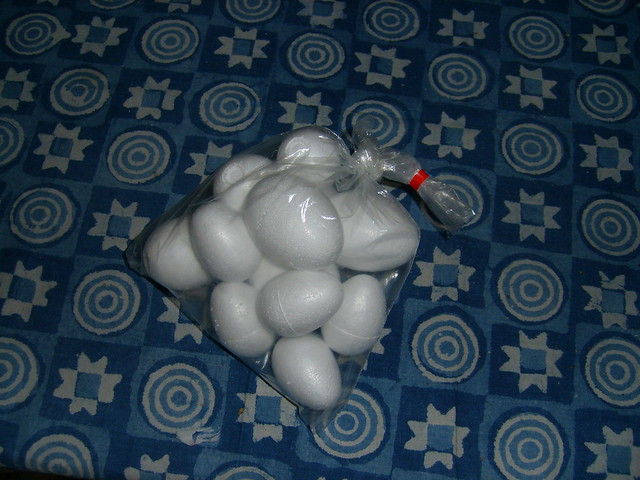
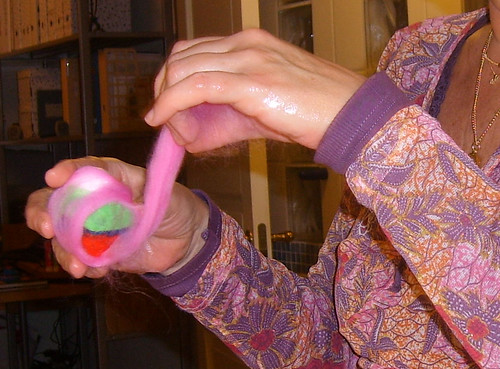
All you need for this is a bit of sheep fleece and egg shaped balls like these white ones that you can find in the craft store. Then you take thin strands of wool in different fun colors and wrap them around your egg shape in different directions so that the fleece hooks together once you start to roll the egg in your hand.
You can start with one color and add more layers later, or wrap it in different colors – that’s how you like it. Try some different styles and experiment.
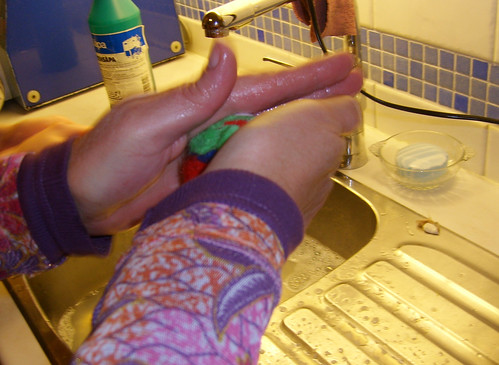
Then you fill the sink with warm water and soft soap (såpa) and dip everything in there. Then roll the egg in between your palms until everything has felted firmly.
The most important thing to remember is to roll the egg gently in your hand at first so that the fibers keep together. If you roll it too violently the fleece will roll up together and peal off the egg! We had a lot of that happening.
Roll roll roll it around and soak it from time to time in the water.
Like I said… don’t role it too hard girl!
If this happens you can wrap another sheep fleece layer around the egg, or remove the pieces that went wrong and start over. It depends on how bulky you’ve made it so far. We had some brain/intestines looking lumps when we finished.
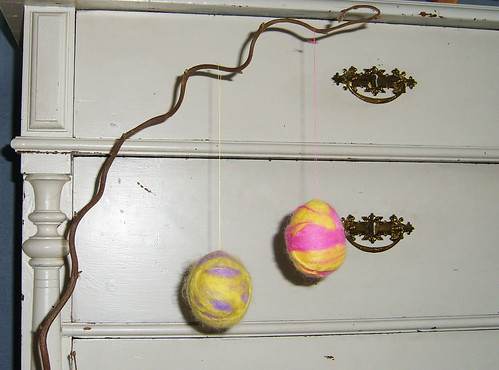
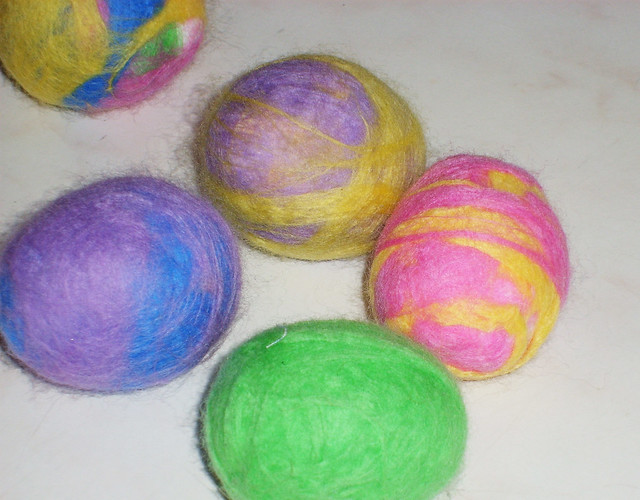
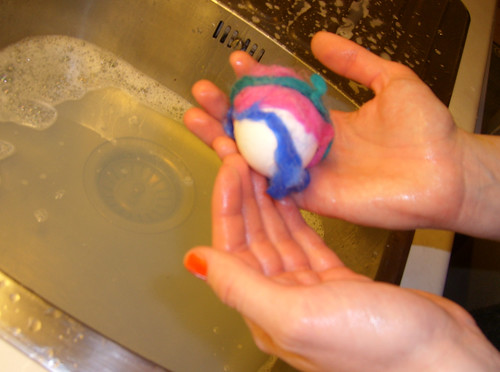
When you can’t see the white plastic anymore and the fleece is kind of firm, you’re done! We had a couple of eggs laying there wet and sorry looking. I was kind of disappointed at this crafty experiment, but in the morning when they’d tried they look fine! I sewed in a thread and hung them up to in a Easter branch from the bouquet we always take in for Easter holiday.
I think our Easter decorating turned out quite nice, or what do you say?
Now that I look at the eggs I realize that you could have a lot more fun with these when you’re finished with the wet felting! Why not sew in beads, add embroidery or golden floss? Adhere sequins or buttons or ribbon? Yes, I think I’m going to decorate a few of our eggs further!
Have fun and Happy Easter!
I’m off to watch some Martha Stewart craft projects online! Jennifer Murphy Easter bunny and lots of cute stuff!
Discover more from iHannas Blog
Subscribe to get the latest posts sent to your email.



Great idea, thanks for sharing! *^v^*
Ooohh fab, they look so cute and colourful.
love
Alison x
Soooooo pretty!! I LOVE THEM! They’d look great in a tree outside where the sun can dance off them!!
That sounds like a whole lot of fun for one evening!
Hejsan, ?lsklingsinsprationsHanna!
I dag har jag snott en bild fr?n din sida f?r att g?ra reklam – f?r just dig. Fast egentligen vill jag beh?lla dig f?r mig sj?lv.
Glad P?sk!
AWESOME project! I think I’d sew beads on mine once it dried, too. Thanks for the great tutorial!
Oh, those are so cute!
What is Pink Thrusday?
I found a crayon colored
Easter Egg in a vintage
book my ds & ddil gave me.
I posted it today on my blog.
It is from Sweden.
Have a Very Blessed Happy Easter
and Blessed Week in the Lord!!!
What fun you had! I love felting, too!