Garden photos with texture
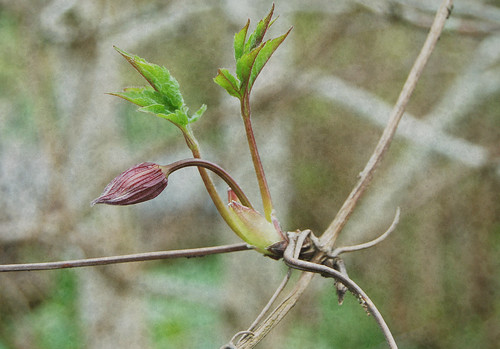
Early in May the magnolia buds was twirling…
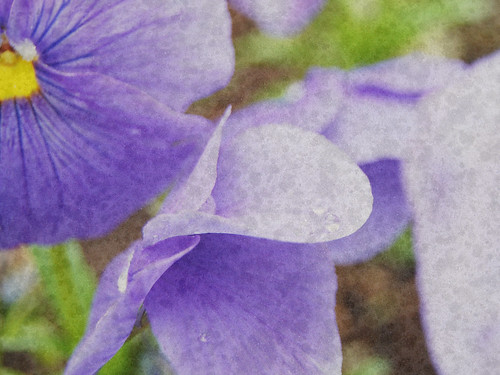
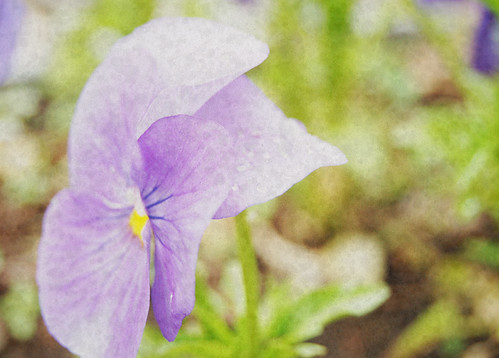
the violette Penses moved outside.
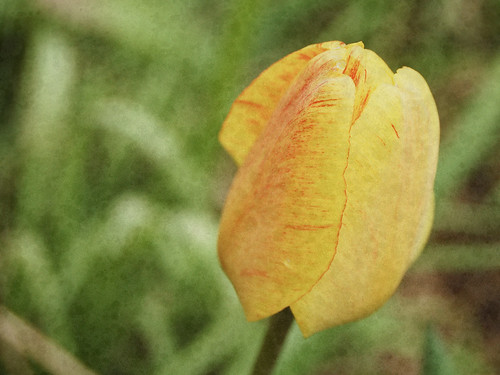
…the tulips started to think about blooming.
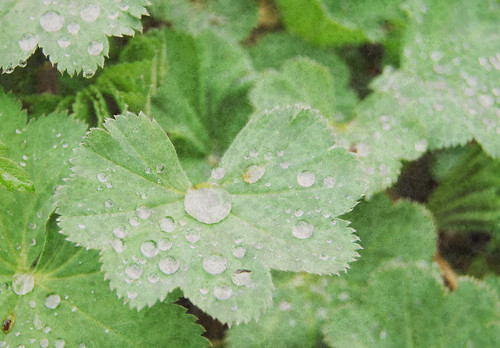
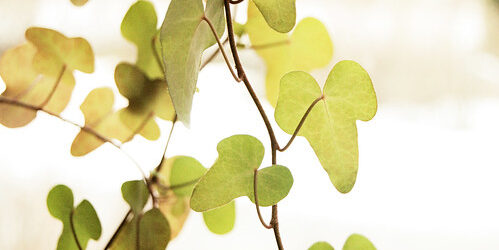
And I went about with my camera while some green leafs made water fountains after the rain. All was as it usually is in the garden during spring.
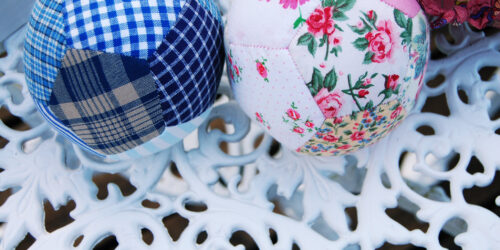
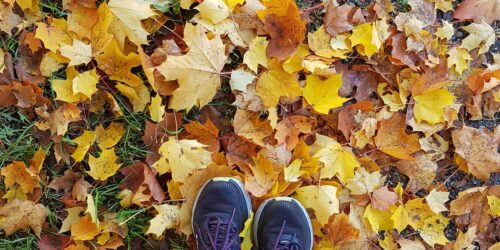
But when I came inside I decided to experiment a bit with the original photos, as you can see above, and add “texture”…

The original photos were brighter and not as stained as you can see, but with a bit of experimenting I aged them quite a bit. I like both versions, but they do evoke very different feelings, don’t they? You see this done a lot in some cool photography blogs these days, so I wanted to try it out. Adding a texture means basically that you add another layer to your photo to give it extra detail.
This is how you do it: Download a file that you would want to use as your texture. Something that looks like a wall, bark or dust is good. Search on flickr for free textures. Then you open your own photo in Photoshop. Open the texture file and copy it into your first image. You now have two layers there. Change the opacity of the “texture layer” to about 10-50 %, and you will see your own photo through it. When you are happy with it flatten layers and save as jpg. The effect will create a new look for the first photo. This is how you add a “texture” to your photography, now go experiment!
When you add a “texture” you add another dimension and start playing with the feeling of the photography. This is my first “series” of photos using a texture and I’m really pleased with how the photos look. The texture is found in flickr’s Free collages images pool and it is called sidewalk raindrops. I’m going to continue to play with this some more.
* Susan Tuttle’s book Digital Expressions is high up on my wish list!
* If you need a better explanation of texture layers, read the Ehow Tutorial. Let me know what you come up with!
Discover more from iHannas Blog
Subscribe to get the latest posts sent to your email.


Those textured photos look so dreamy.
Thanks for the links and the quick how-to.
I will definitely try something like this soon.
Sophie
how funny! I JUST bought Susan’s book yesterday and posted it on my blog. It looks glorious :) I can only imagine the awesome things you’ll do when you learn it.
I am planning (thanks to you!) to do a book using InDesign and Blurb. Was there any website in particular that you used that helped with using InDesign?
You will also get some great results with your texture if you change the Blending modes (to the left of the Opacity setting) in your Layers Palette.
Thanks for your comment! Dawn, Susan rocks, I know you’ll love her book! I know inDesign already so I didn’t need a tutorial on it, but the help-files are great when you want to create a “master” for page numbers etc, plus, be sure to download the correct book format from Blurb before you start! Let me know how it goes!
Marie, thank you for the advice, I’ll be sure to try that too! I’m a newbie at digitally altering photos! :-)
Thanks for showing me how you used my “sidewalk raindrops” image to enhance your photos. They came out really nice. I am still rather new to the whole idea of altering digtal images and creating digital art. (I say that even though I have been dabbling in it for a few years now, but I’m a slow learner!)
The book you mentioned and linked to, Digital Expressions, sounds interesting. I may need to check it out!
Hey Cindy, thanks for stopping by my blog too! :-) I don’t think we can ever learn enough about making any kind of art – so in that sence we will all be newbies for ever! But dabbling is fun, and I enjoyed trying something new! Thanks.
Hi Hanna – After a long long long day at work, I am relaxing at “your place”. I am always refreshed by the beauty you see, create and share on your blog. I am very appreciative. :-) Thanks – Genevieve