Recycled Wool Rose Wreath
I can not believe I have not made a wreath until this year! It’s high time to craft something when you’ve been thinking about it for years, don’t you agree? :-)
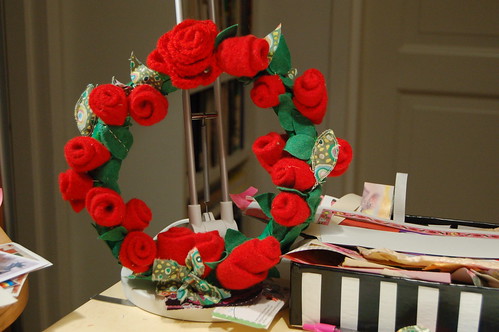
Ta-daa! As I made this one I decided to document the process and create a tutorial. I hope you like it.
A wreath (d�rrkrans) can be as simple or as elaborate as you want to, with millions of variations for many occasions. Why not make one for each month, season, or mood? I have seen lots of inspiring examples online, just do a search and you’ll see. The inspiration for this one was a red wool sweater shrunk to miniature size in the washing machine. I wanted to craft something with it and as soon as I started to cut it up I could tell the red would be perfect for red roses!
Recycle Everything!
I have never tried to make a wreath before but I sure have been thinking about it for a long, long time now. I really wanted to try to make something pretty for the door. I decided to only use recycled materials for this project. I recycle a lot, actually, and always try to use the things I already have at home.
Even the ring base of the wreath is a do-it-yourself recycled object. Though it probably would�ve been much faster and a lot easier to buy it ready made in a flower shop…

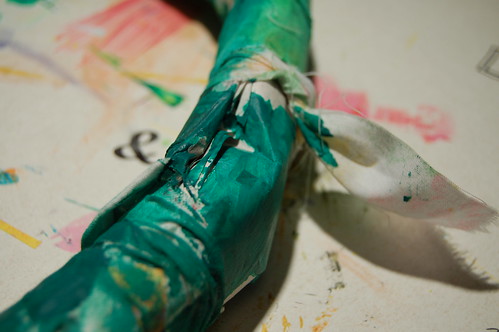
Anyway, I took a rolled up newspaper and taped it together, then covered the wonky ring with strips of fabric, glue and then a final coat of acrylic green paint. Phew, when does the fun begin?
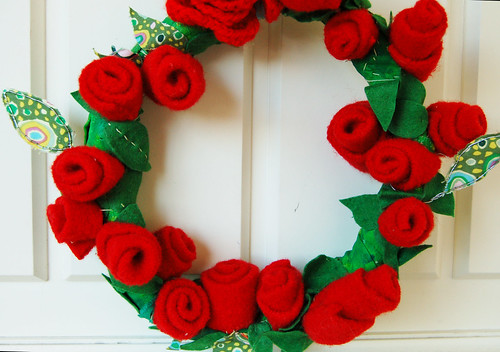
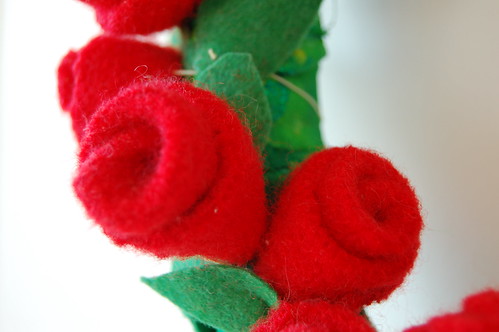
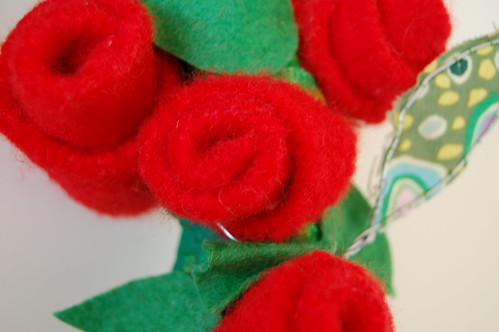
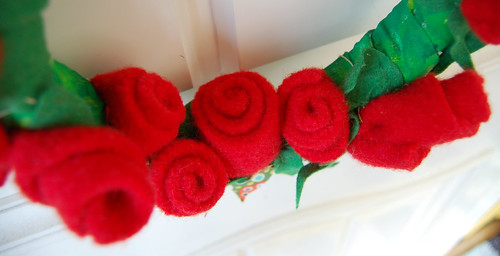
Then I cut strips from a red, felted sweater that was in my fabric stash already. I rolled red roses and sewed them together with a few stitches, then attached them with thread around the ring base.
Did I say this was a very time consuming project, for being such a �small and fast� one in my head?
I did a few leaves from wire and fabric following the guidelines of Jennifer Swifts great book Creative Bloom (my review), then also a few simple leaves from green craft felt that I just glued to the base. This is how:
Wire leafs

I’m using just a very small piece of my favorite green Kaffe Fassett fabric. So pretty!
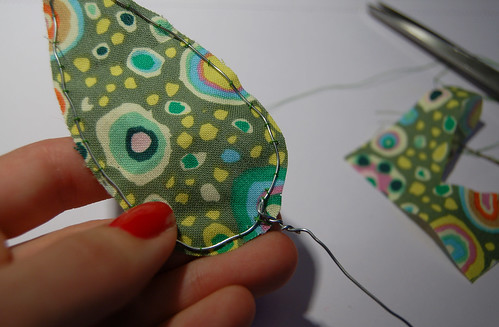
.Sewing around the wire to attach the fabric inside the wire frame, before cutting it out.

Cutting around the leaf when the fabric is sewn in place.
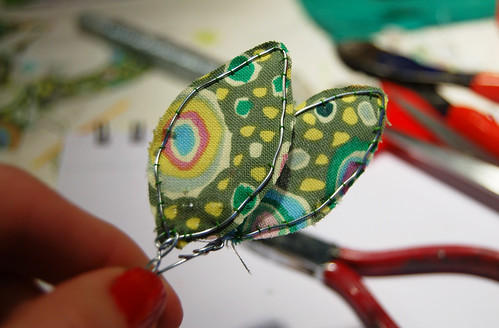
That’s that about the leaf-part.
I would’ve made more leaves because I think they are very decorative, but I was tired of crafting, so I stopped. I wanted to finish the wreath. To have made a wreath and not keep making it. I declared it done.
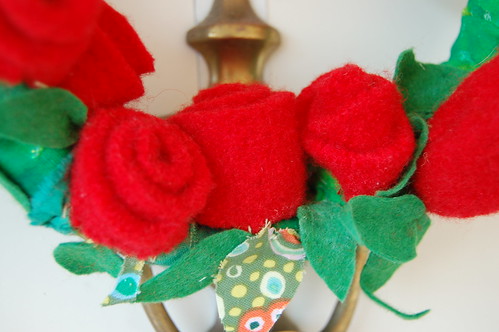
A pretty ribbon to hang my wreath from and ta-daaa! It�s finished and up on the door as I write this. I think it turned out lovely, a perfect decoration for say, Mothers Day, or a birthday celebration. More pictures of the finished wreath:
Have you ever made your own wreath?
Discover more from iHannas Blog
Subscribe to get the latest posts sent to your email.





Beautiful :-) Perfect for Christmas
I tend to make all my flowers in paper, adding buttons (follow my link to take a look) – yours will sure last a lot longer :-D
It looks marvellous!
What a gorgeous wreath! Very Christmassy!
Great wreath! I’ve never tried making one. Another thing on my list. I’ve pinned this. Thanks.
That’s kinda cool. I showed it to my grandma and she liked this idea. I sent the link to her email that way when she goes back home to Alabama she can make it. I might make one for our front door.
Thank you for bringing back Traditional Christmas!!!! Beautifully done.
Love the wreath! I also think it’s marvelous of you to say you were tired of making it. I have the opposite problem–I enjoy making it, then I don’t want to keep it. My fun is done when I’m finished working on it. The roses are so clever, and I would have tried to trim the leaf fabric before sewing–you’ve saved me a lot of work!
This is gorgeous! I’ve never tried one, for the exact reason you mentioned — I can design it quickly in my head, but carrying out the deed with my hands takes an eternity (and never quite matches up to the design in my head :-D)
This is absolutely BEAUTIFUL! :]
The bold red roses are perfect.
Very pretty. I haven’t made a wreath yet but it’s in my plans…
Hugs,
Sophie
What a thrifty idea!!! I also like to make useful pretty things from bits and bobs I have around. Recycle Art is hip.