How to Create a Digital Kaleidoscope Mandala
You can do all kinds of wonderful things in your computer as you all know. I found a simple and fun way to make a digital mandala from a photo, using the online photo editing program SumoPaint!
It’s simple! Visit the site and follow these instructions to make your own Digital Kaleidoscope Mandala!
How to
1. Open up SumoPaint in your browser
2. Click the button “Open From Computer”, select an image from your photo folder and click to open it.
3. Click on “Filters” (in the menu inside the browser, just below your address bar). Hover your mouse over “Distort” and select “Kaleidoscope”! Then play with the settings there.
Ta-daa!
Play around with the settings and see what happens. You can change the number of sides, zoom in our out and also drag the little circle to change what area is focused on. When you’re happy with the look of your Kaleidoscope Mandala, click OK and save it to your computer.
Then make another one!
Don’t forget to test “Random” settings a couple of times. It is amazing how many ways one single image can be recreated.
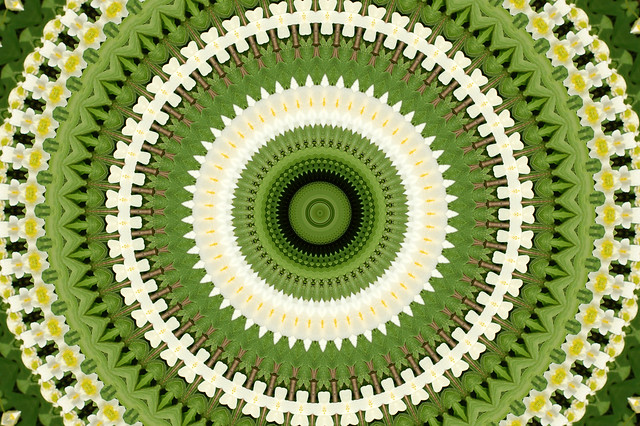
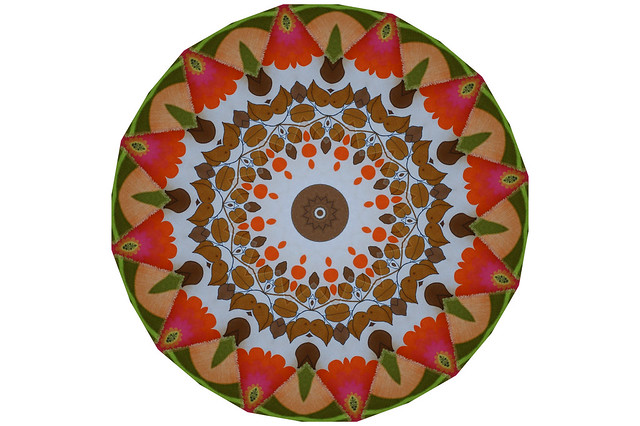
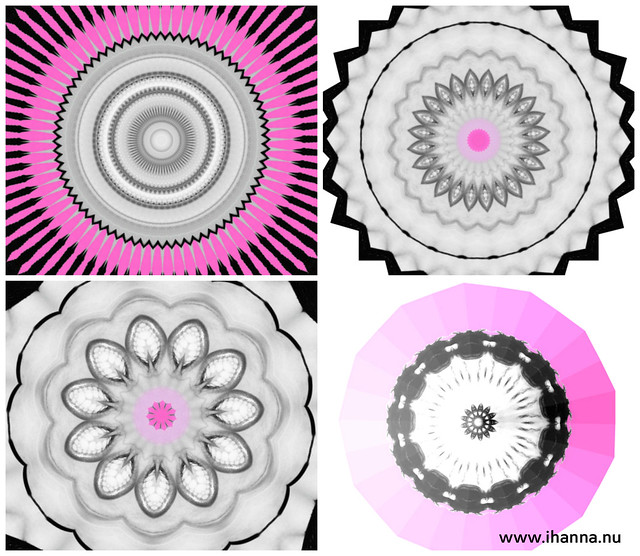
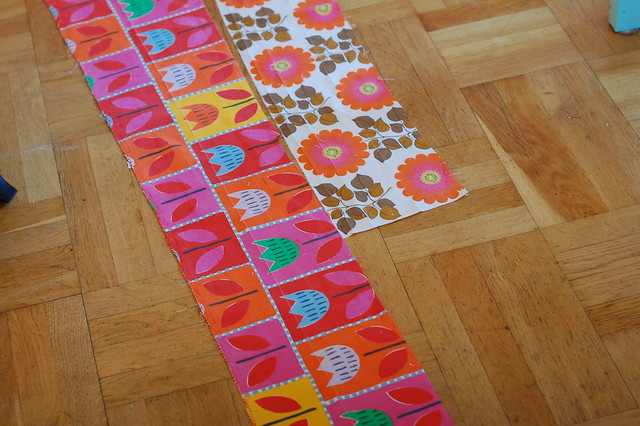
The above four pink Kaleidoscope Mandalas are made from my personal profile photo. The more complex the photo, the more patterns you will get. The green mandala above is made from one of my White Anemone photos and the second one (my favorite), is from this photo of beautiful fabrics that I have yet to sew something with:
Magic, isn’t it? I’d love to see what you create! Feel free to post links to your creations in the comments. Have fun!
** Previous tutorials by me can be found here.
Discover more from iHannas Blog
Subscribe to get the latest posts sent to your email.
21 Responses
-
Pingback: Digital Kaleidoscope Mandala! | Artimess
-
Pingback: Meadow Mandalas | stonechat
-
Pingback: Link Love | Artimess


OMG!!! this dangerous! I can see hours of time drifting by – the possibilities are ENDLESS and magic!! Thank you so much Hanna – I think!
I used to (about 10 years ago) make mandalas of pictures by doing masses of photocopies and cutting them up and sticking together and photocopying them – thinking all th etime there must be a computer programme that could do this – and here it is!!!!!! Wow!
Sandra, OMG! The photocopying sound sooo cool to me – very hands on and interesting. Do you have any of them still and if so, can I see them? What a fun idea that is too. :-)
Yes Hanna, I am away from home at the moment but I will dig them out when i get home and post them – thanks for the interest!
I found them Hanna! you can see them here: Meadow Mandlas!
Thank you for your interest – it was great to look through them again!
I have only played for a little while but LOVED it (a little too much I fear!)
You can see what happened here!
I Love it. I made mandala’s out of pictures of mandalas…. and one from a picture of my hair!!
Also, I am totally sharing this tip with my blog readers next week!!!
This is stunning!! I love this. Thank you for sharing. I am also completely jealous of your fabric collection. :)
Thanks Nat! My fabric collection, as seen here, is very minimalistic but I agree, those two pieces of vintage fabric is beautiful leftovers from someone’s sewing project. You can actually see the sewing lines where I opened the seem to try to salvage the tulip row. Love it.
I tried it out and enjoyed Sumopaint. But see my full comments on it here…
Thanks Judy for leaving your link to your experiments! Yours is so beautiful! I will check out the Earth Mandala method too!
Hanna, that looks complicated…I’m sure it isn’t! Thanks for sharing, they are all beautiful!!!
Hi Mary, thank you sweet one! And no it’s not complicated to do but the patterns you can get is rather complicated and very fascinating. Let me know if you try it out! I’d love to see what you make.
Thanks Hanna, what a great programme, thanks for sharing! I tried it out straight away, and posted some of my results on my blog!
Tanja
Love playing with it! Thanks for sharing… See mine here!
I’m hooked! I love the way the texture of crochet and knitting comes out in the mandalas. you can see them here
I liked it, thank you for your tutorial, it helped me, is meditative. That I was looking for.