DIY Calendar Idea | Make Your Own Index Tabs
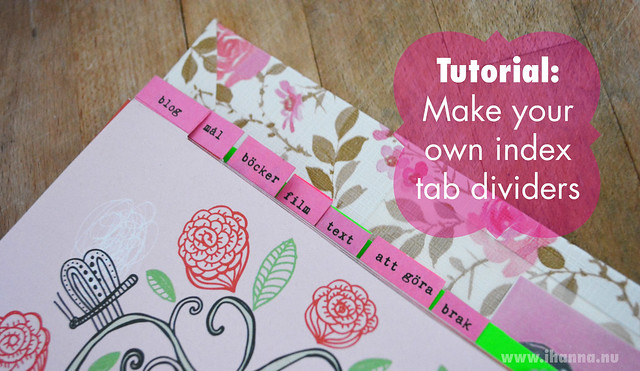
Not happy with the current selection of tabs on the market? Make your own! Customize them in your own style and organize your calendar in a way that suits you best!
I love index tabs, especially the ones I’ve made myself! I use tabs all the time, in notebooks as I fill them and in ring binders as a register to know where to file finished projects and reference material. Tabs organize your sections and help your brain remember what you put into a each binder! If used properly they can save you time and energy when you are looking for specific things.
If you are making your own DIY Calendar, like me, you will probably want to make your own sections inside it too. Without sections you can’t really find anything! Check out my tutorial on How I made my own Planner too.
In the printable PDF-file of the downlodable DIY Calendar Pages that I made I have included a template page for cutting out your own tabbed section dividers (and also I provide a list of word suggestion for your tabs).
What to think about BEFORE you make tabs
The first thing you should do is figure out how many sections you need. This gets easier with experience, but if you are new to keeping reference material and lists with your calendar, I suggest you list a few words and see what feels good.
Then ask yourself how many sections you think you’ll need. The smaller the tabs, the more sections you can fit. But the more different sections you have, the more likely it is you won’t be using some of them as much.
I know what sections I’ll need and use this year: Blog (planning), goals (short term and long term), books (to check out or that I have finished reading), movies (that I think I will want to see), text (ideas and headlines) and a place to keep different kinds of to do-lists.
Allow room for growth. Both when naming the tabs and inside the ring binder, where you might want to add in the last 1-2 tabs in a few weeks.
Decide what style you want. Plain card stock or funky mixed media dividers? I love to mix and match! I’ve got neon colored card stock, whole page images from Flow magazine and pretty scrap book papers in mine.
You can vary the papers, the tab styles and sizes – and their position (side or top tabs).
So, let’s just look how I did this index and the tabbed dividers, shall we?
How to make Your Own Index Tabs
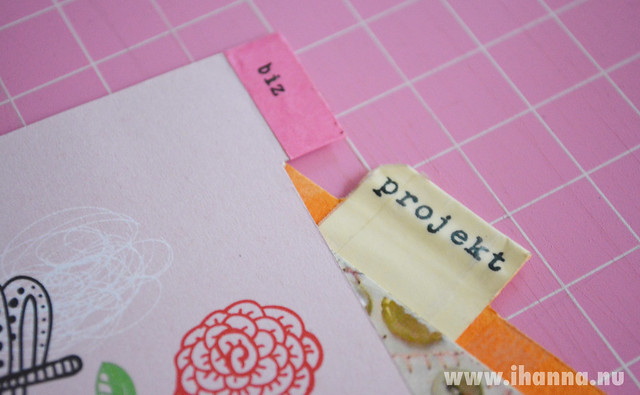
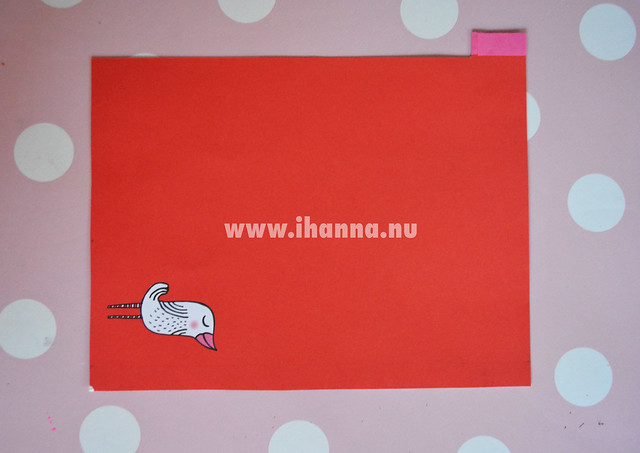
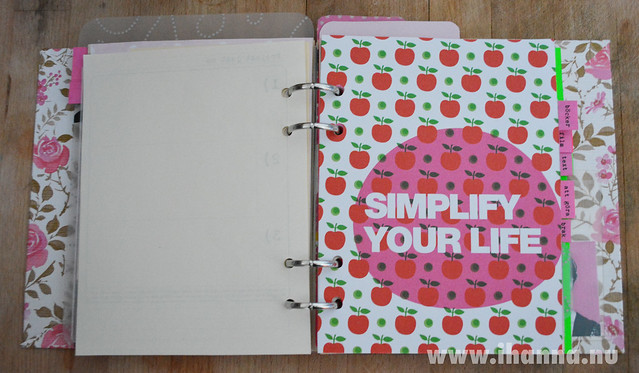
My DIY Calendar has pink index tabs sticking out to the right, with the words I listed above. I might change it up later, but for now I am happy with this look. You can measure yours and divide the length of the page to make even tabs. I didn’t make my tabs even, because I like that they are as long as each word.
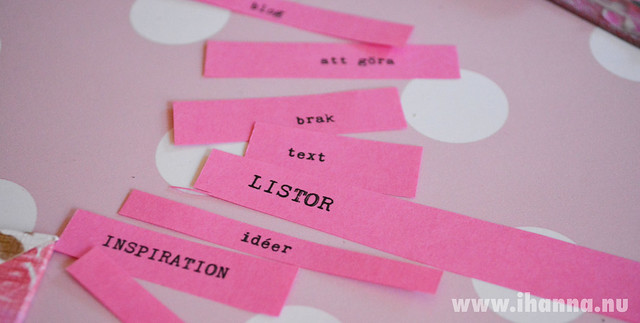
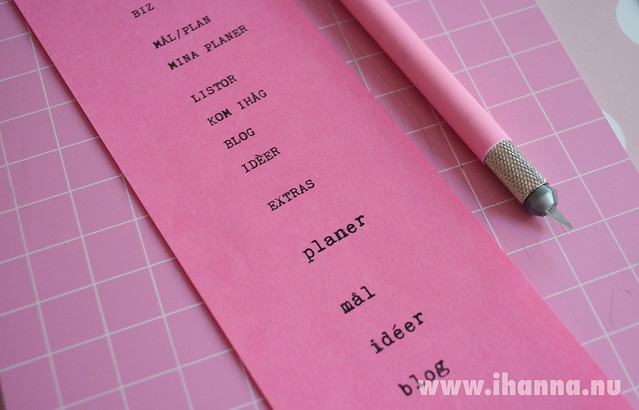
1. Cut out the Tab word you want to start with!
You can label your sections with a single word, an icon image or a color code. But always write down what they’re meant to hold too, or you might forget. It can even be a good idea to specify what kind of “ideas” the Idea-tab is for, so you remember that it’s for BIG creative projects and not crafts or sketching ideas.
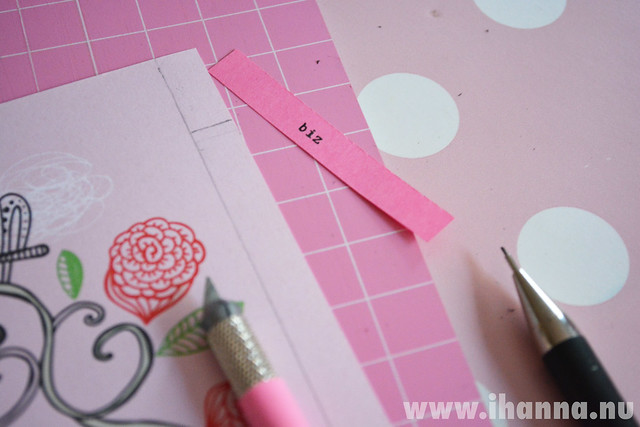
2. Cut out the first divider page!
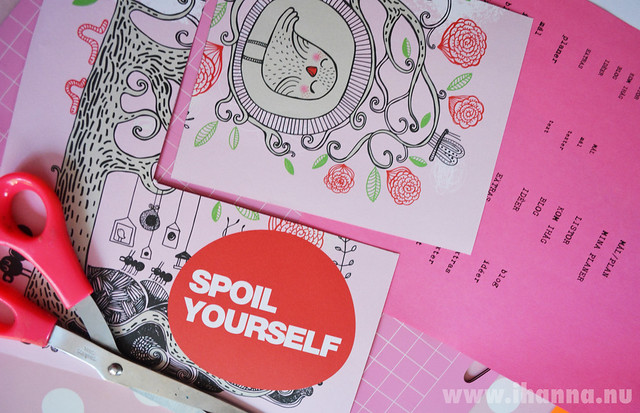
Use one of the calendar pages as a guide, and add 2-3 centimeters to the right for the tab. Once it is cut out pick your first tab word, and cut it out to know how long the first tab needs to be. I use a ruler and my x-acto knife for this.
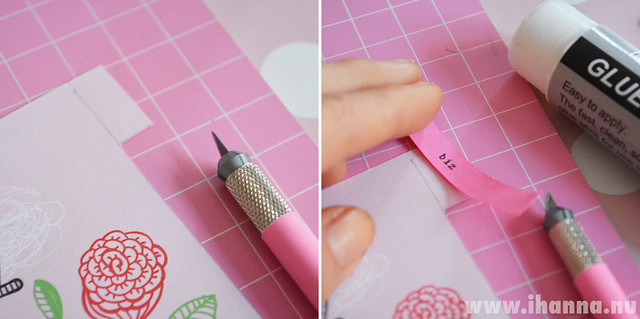
3. Glue your index word to the tab.
I’m using a glue stick, as always, and then folding the pink printer paper around the tab to reinforce it a bit.
I laminated my previous index tabs with book tape, to make sure they didn’t get dirty or tore away when flipped. If you have access to a lamination machine you can of course cover the whole divider in plastic.
Once the first divider is finished you will use it to measure where the second tab should be!
4. Cut out a second divider page (similar to the first one) and use it as an overlay to mark out the placement of the second tab, just under tab number one.
Index tabs created this way looks great! I love that the tabs are made from the same page as the divider page itself, not added to it later. And I adore these papers, found in the magazine Flow, with different patterns and illustratons on each side. Perfect for my DIY Calendar this year!
Of course you can also make the divider page, and add sticking out tabs later!
There are several ways to add tabs, and I have tried many ideas in my journals: circle punched tabs, double folded washi tape sticking out, ribbons, book marks, bought tabs with rounded corners, and so on. All is good, as long as it is working for your purpose – and you enjoy looking through your DIY Calendar!
If you are using a regular sized ring binder you can, instead of creating your own, buy a register at the office store and then choose to customize it with images and collage. And don’t forget to also make a transparent divider for your calendar!
Let me know if you have any questions, suggestions or other ideas! Do you make your own tabs too?
PS: You can still get my DIY Calendar Pages and get started with your calendar!
Discover more from iHannas Blog
Subscribe to get the latest posts sent to your email.




Hi Hanna…you are so creative! Love the planner you are making. I’m not a planner user person but I think it’s great for those who do and can use them. That is a sweet little bird on the cover :)
Thanks Mary, I would’ve never thought I’d be a planner person either until I started to make my own version and have found “my own” way into using it, like tracking daily habits I want to implement, making creative to do-lists weekly and so on. I’m having fun inside mine, just like my art journals and notebooks.