How to Finish a Postcard using a Sewing Machine
There is no doubt that creativity is the most important human resource of all. Without creativity, there would be no progress, and we would be forever repeating the same patterns.
Edward de Bono
I’m back with some thoughts on how to finish a postcard using a sewing machine, and a reminder that this is the last week to sign up for the DIY Postcard Swap fall 2015.
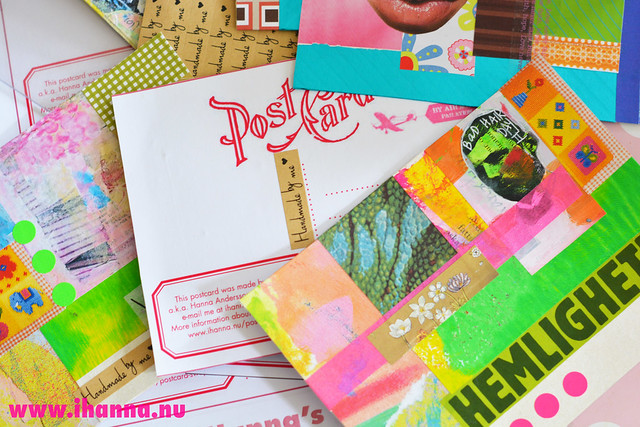
I talked about creating postcards in a series in my post last week, but I’m not sure I got out what I wanted to say. Man do I feel rusty as a blogger. But I’ll give it another try today and show more of the process and the collaged postcards. In the previous post I showed you that the spring postcards were all colorful and fun collages created on a sturdy background. But the backside was still plain and bare, and that’s not how I roll…
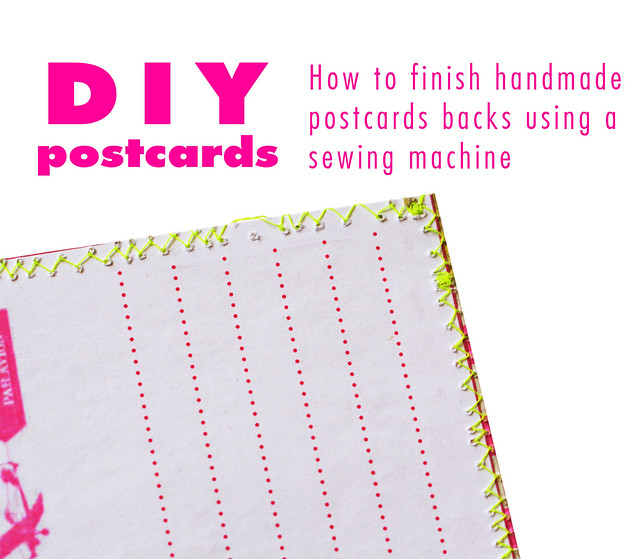
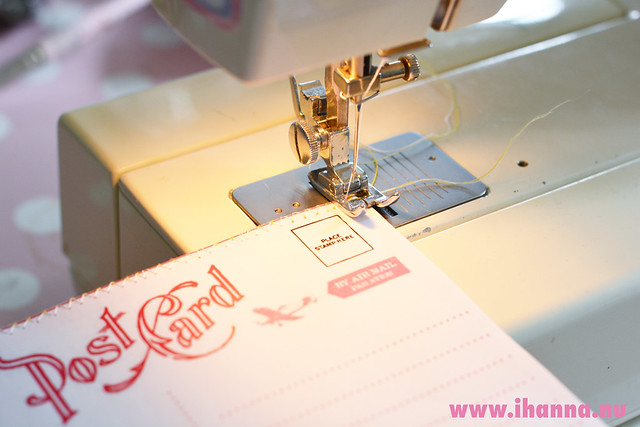
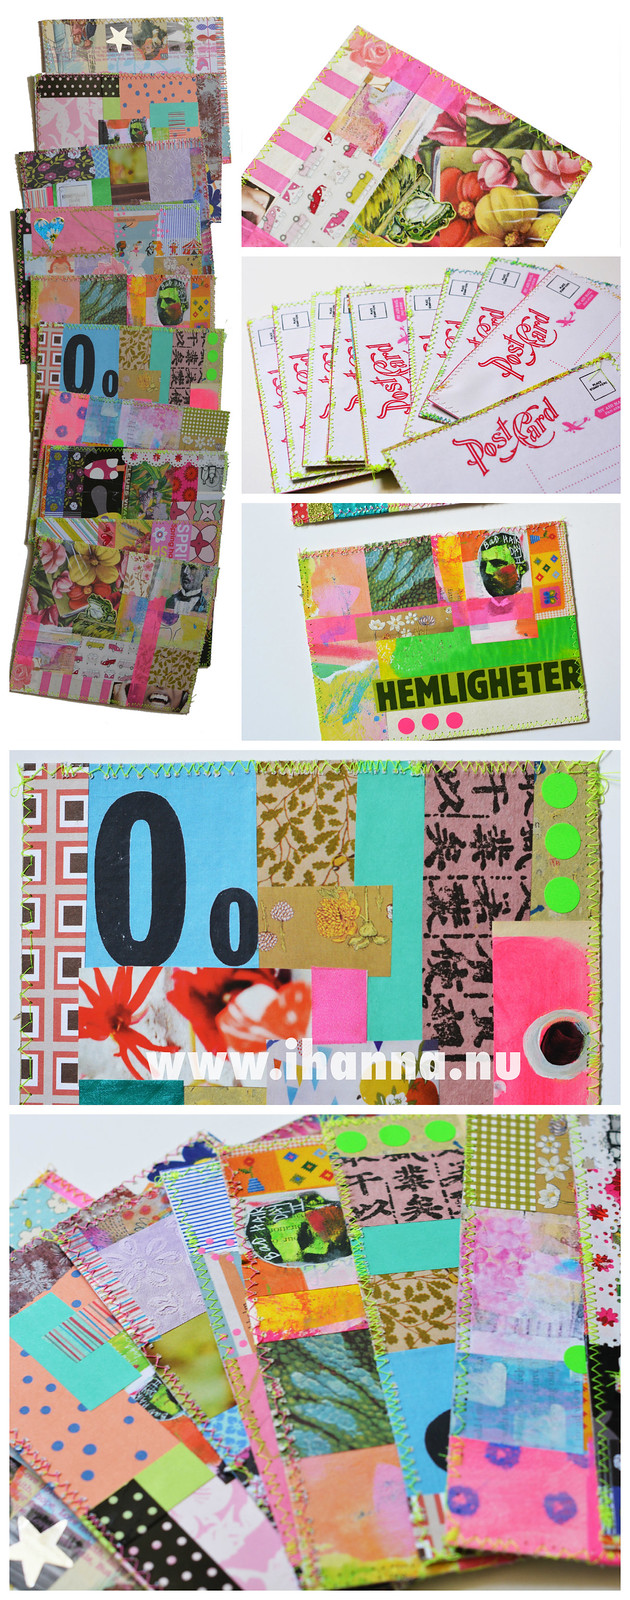
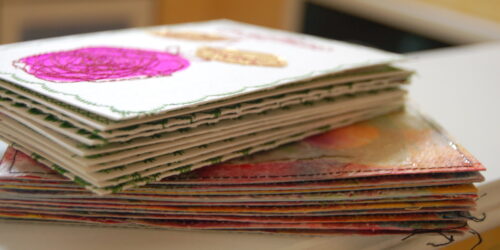
So what I wanted to write about today is my preferred method of finishing a postcard, using a sewing machine to attach the backside and close the edges. I just love that look, even though my sewing machine didn’t do the job perfectly this time.
I have been using a sewing machine on papers for many years, and it is always a thrill to get back into it. If you haven’t tried it, you must. You won’t break your sewing machine, just be sure to change the needle when you go back to fabric, and you’ll be fine. I promise!
There are many many different ways to make a handmade postcard, and I have tried quite a few through the years. But sewing around the edge is my favorite method, because it really makes the card take a leap from store bought and it makes them look very handmade. DIY in that rough, quirky way that I like best.
How to finish a handmade postcard the iHanna way
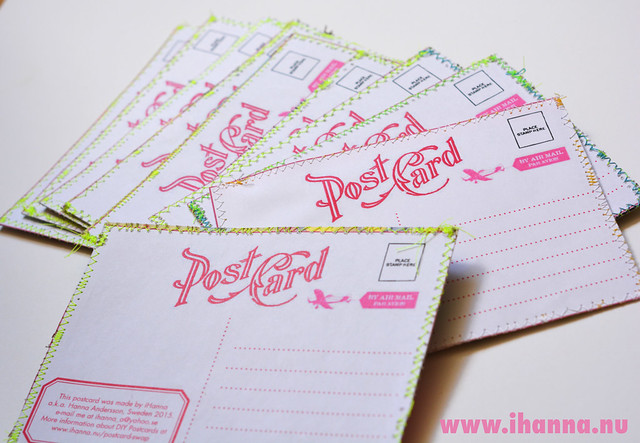
I start by printing five or six pages of the Free Printable Postcard Backside that I created for this purpose. But instead of gluing it straight to the cardboard I dab a little glue in the middle while making sure the edges align, and then I thread my sewing machine with a color I like. This year I went with green and neon yellow thread.
Then I simply attach the art-part (painted, collaged or lettered) to the backside-paper (printed on 80 gram printer paper) as a paper sandwich. The stitching is decorative, but also ensures that the backside won’t fall of at the post office (which has happened to people in the swap not sewing the backside in place or simply not using enough glue or using a glue that didn’t hold up to handling).
Something that I always try to remind those that participate in my Postcard Swap about is to include their name and e-mail on the backside of each postcard. You are the sender, and you should always sign your art and anything you send out. Someone might have a question for you, want to send you a thank you e-mail, or simply know who made the pretty card they just received.
I also include what swap it is: the DIY Postcard Swap, the year and a url this blog or to the swap information page, in case someone wants to come visit, check out what I write or leave me a comment here.
I prefer to include all that on a little label, as you can see above. That makes it easy to read (yes, it happens every year that someone really do include their e-mail but handwrite it which makes it hard for the receiver to interpret the correct e-mail address), and I don’t have to write it 10 times on all my postcards.
The last piece of a postcard is of course that backside. You can add stickers, washi tape or find pretty stamps to make it even more colorful and happy, but leave a little room for your personal message on the left – and the address on the right. If you’re in the fall 2015 DIY postcard swap you will be getting your ten addresses in about a week. Yay!
Oh and the reminder: this is the last week to sign up for the DIY Postcard Swap fall 2015. The next swap will not be until next year – so sign up and get creating this week. We are already over 100 sign ups and more are joining every day.
Here are a few of the collage postcards I made.
I’ll share the rest in my next post. Thanks for reading!
Discover more from iHannas Blog
Subscribe to get the latest posts sent to your email.





What gems Hanna . . . and that one on top of the stack with the frog on it is at my house!
And you a rusty blogger? Not at all! Me on the other hand, I’ve just blogged for the first time in 4 months . . . now that is rusty!
yum-yum. love the sewn edges hanna! i used your printable backside this year-i had it copied onto the cardstock i chose to use for my postcards. i plan on finishing them up by the end of the week! excited to get them in the mail and start receiving them too ;) hugs, jenny
Thanks for the great tips! Thank for organizing your swaps. I was happy to be able to participate in this latest one after missing a few.
This sounds like so much fun and your postcards are so charming. I would like to try this for some of my Christmas cards. Thank you for the inspiration! :)
Tamara<3