Mixed Media Postcard Layers | Process Video Series
Since it’s our Anniversary Year, I thought it would be fun to share some more videos of how I created my DIY Postcards this time! I’m editing the footage of my third video (I think there will be four in total) right now and I am hoping to share it soon (it takes so many hours to make one of these videos).
I hope it will make you happy to know that the first and second episode are already here (if you’re a YT-subscriber you might already have seen them of course)…
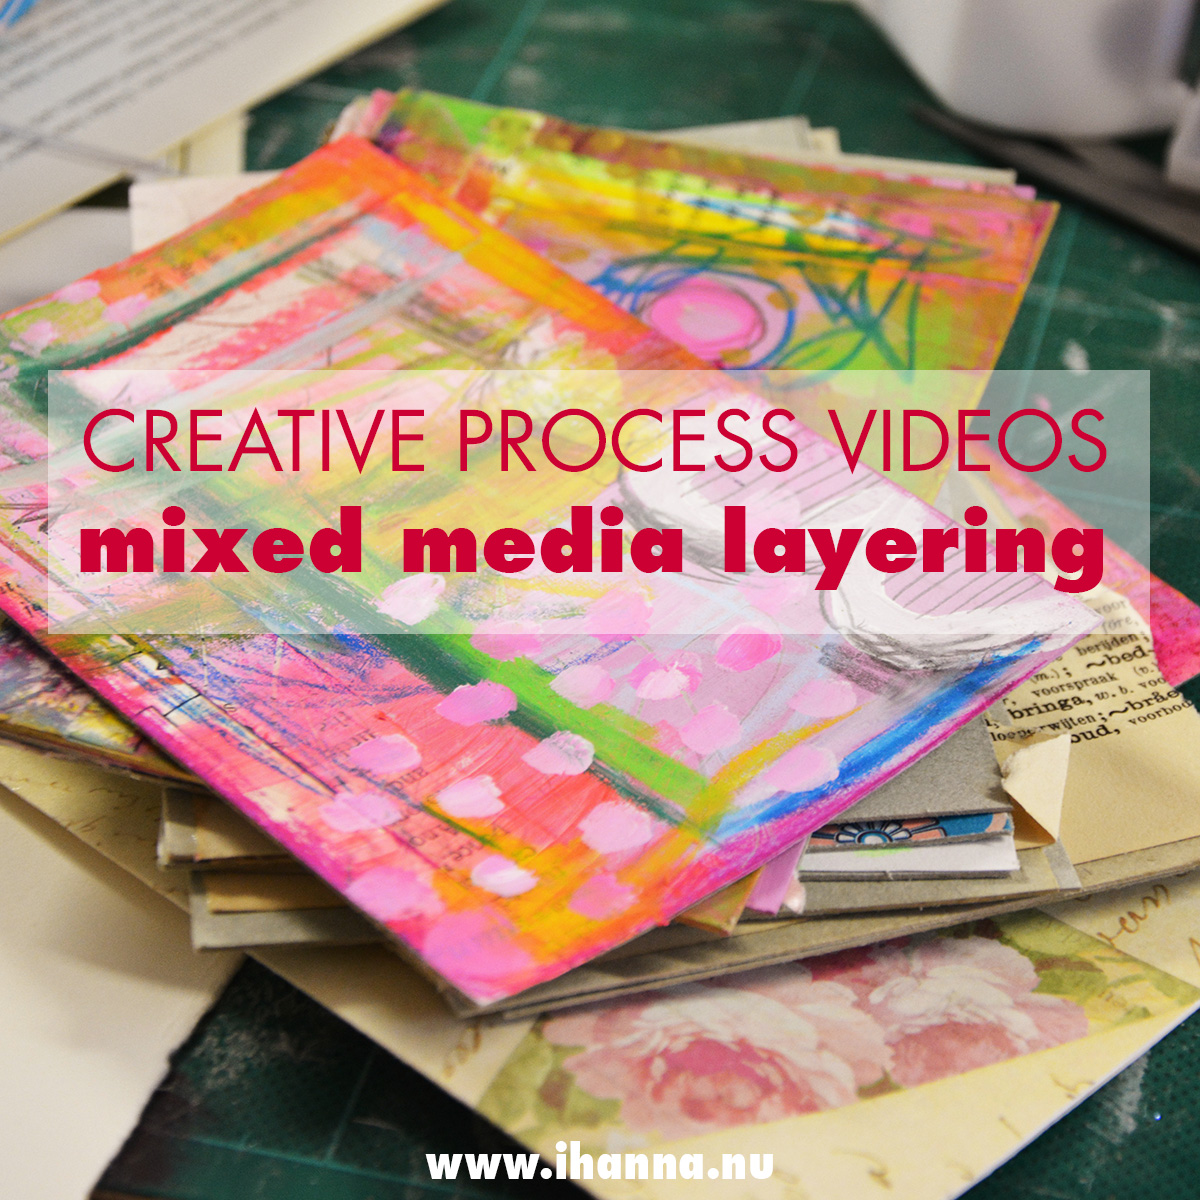
The first two process videos are uploaded to my channel on YouTube, and today you’ll find both of them embedded below, for easy access (with some additional information and product links), in case you need something creative to watch as you go about your day…
I hope you’ll use all of this as inspiration for making your own handmade postcards!
If you feel inspiration coming on -?you can still sign up for the DIY Postcard Swap, if you haven’t done so already!
I just don’t think you’ll want to miss out on joining us. Making postcards is such a lovely stay-at-home-activity because it combines making something (the act of creating is for yourself) that you then get to send away (giving your art away and sending it out into the world is brave, wonderful and leaves you with a rather satisfied, happy feeling in your gut). I know the many, many people who join each year will agree with me on this.
But anyway, back to my process.
Preparing your DIY Postcards
Let’s start with the preparations. The first thing you’ll need to do is cut 10 postcard sized pieces of paper to work on (or more, if you’re like me and will want to keep one and send one or a few to the people you love). I’ve actually used pizza boxes once, but these days I have a pack of perfect for postcard cardboard (similar to these) that I like using. One paper creates four postcards, as you’ll see in the video, and then I start the prepping.
The card-stock I use is something similar to this, if you want to buy your own. If you don’t want to cut your postcards I would suggest altering ready made postcards or buying a Blank Watercolor Postcards pad, that even has the address lines printed on the back ready for you.
Here is the first video of me prepping postcards:
The first layer done by using a no-brand matte gel medium and strips and bits of book pages mostly, left over from previous projects. A rather fun way to “clean your desk” if you ask me.
Painting pink mixed media Postcards
Then I poor up some acrylic paint in warm tones (pink, orange, magenta and so on) and start to paint. Here’s the video:
To finish my postcards off, I add details like polka dots, colored pencils, and some crayon marks (on my wish list is the wondrous box of 84 colors water-soluble crayons. The regular crayons are always marked neocolor I (one) and the water-soluble ones (which I actually prefer but didn’t bring out this time) is called neocolor II (two), something to remember when you’re buying them.
Lastly in the process of making DIY Postcards I glue on the printed backside, free for all to download and use. And that is my process (this year, haha, other times I’ve done something totally different).
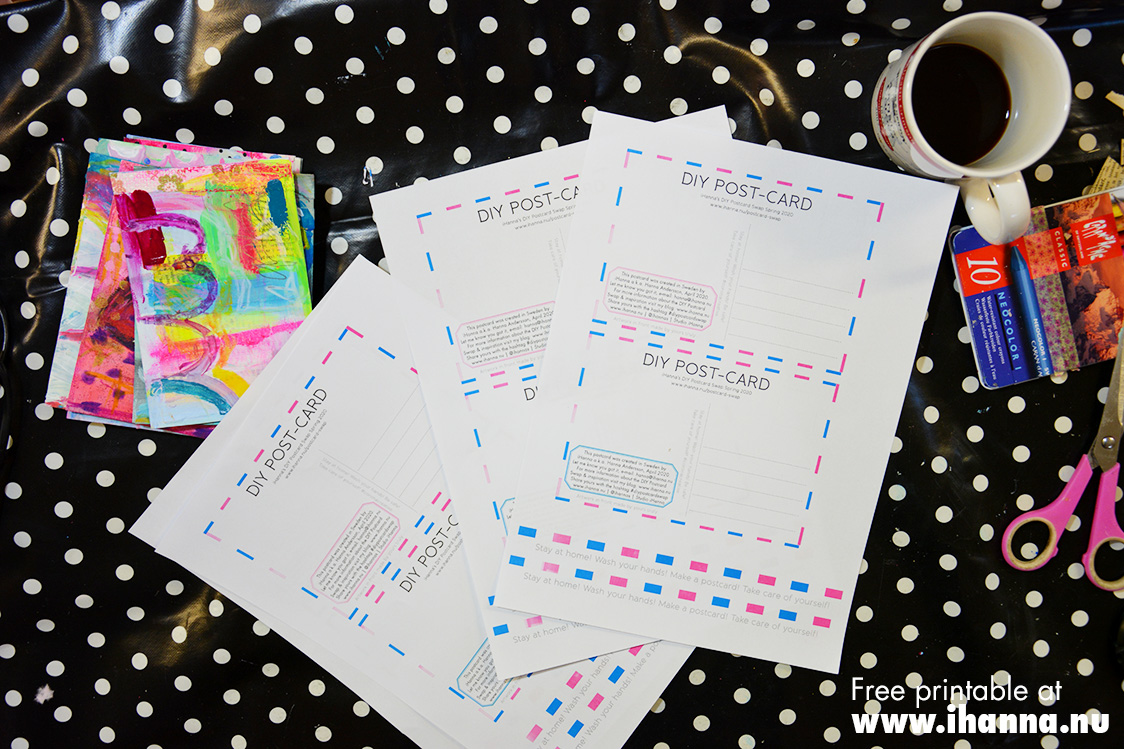
BTW, I did not look at what I created last year for the swap, but now I see that these are quite similar to the Postcards I painted back then… But I think that might just mean this is my style, right now.
Further Postcard Inspiration
- Playlist with more Mail Art / Postcard videos – on YouTube. Just hit play and they will play one after the other!
- DIY Postcard Swap – read all about it here and sign up!
- Follow my Pinterest Board DIY Postcards for LOTS of wonderful inspiration featuring found mail art and handmade postcards
- The 10th Anniversary of the DIY Postcard Swap, check it out and leave me a comment to cheer me on
- Swap FAQ – frequently asked questions about postcard size, e-mail problems and what to do if you’ve signed up but can’t make the deadline
- Please share your DIY Postcards that you make or receive in the swap on social media. Tag me on Instagram where I’m @ihannas– and use the hashtag #DIYPostcardswap and #ihannaspostcardswap so we can all find each other’s lovely handmade cards!
- Also check out the lovely Neocolor crayons on Tammy’s blog here – she even has some crayon prompts there to play along with.
DIY Postcard Products
Products used in the making of my collection of postcards this year are listed below (or similar items) in case you need to stock up or check out something new-to-you, all links are affiliate links and lead to Amazon, but you can shop them at most arts and craft shops of course.
- Brown Kraft Fiber Cardstock 80lb – maybe for cutting your own postcards
- Matte Gel Medium
- Caran dAche Neocolor I Pastels – the box of 40 colors, although my dream box is the box of 84 (!) colors water-soluble crayons…
- Metallic Paint: Gold – a little jar for little polka dot details
- Quinacridone Magenta Acrylic Paint – by Golden, my favorite magenta that together with any white paint will create soooo many beautiful, pink hues
- UHU glue stick 40 gram – in a pack of 12 is the way I stock up on these
- Palomino Blackwing pencils – great for doodling
- Uni-Posca Paint Marker Pens – great pens that you can use on top of acrylic paint and more
- Pastell Gelatos – Faber Castell crayons in a holder, this set holds 15 yummy colors but there are also Metallic Gelatos and Iridescents and Brights (on my wish list) as well as smaller sets of four in yellow, red and pink (this is the set I have) and browns called steampunk (!) for example.
- Matte Varnish – one of the many things you could you use to seal your more messy layers in
Did I forget anything – let me know and I’ll add it later.
Did you find the videos inspiring – and in what way? And as I’ve already mentioned: when? you feel inspiration coming on you can sign up and join iHanna’s DIY Postcard Swap. Yay!
xo
You might also be interested in:
Discover more from iHannas Blog
Subscribe to get the latest posts sent to your email.



Fun to watch you create, Hanna! I’ve been sharing about the Swap and hopefully some people will head over here to sign up soon! XOXOXO
I always love the color + chaos of your work, Hanna! Thank you for sharing your uniquely YOU approach to art-making!
Thank you Hanna!
That was so much fun to watch, I’m inspired to sit down and play, even though my creative time is over for the day. I’m here in Washington State, staying in and creating as well as zooming and texting with my art friends. There are a group of us doing the postcard swap. We will probably work together as we join each other every thursday morning on Zoom. Thanks again for the videos.
This is my first time doing your swap. After watching your videos I’m so inspired to start making mine! Thanks for making these videos and doing the swap. You bring so much love into the world through sharing your creativity.
Hi Hanna! I love your videos! I found about your DIY postcard swap from Sarah Gardner and joined in. It’s so fun! I love hearts and vintagey scraps. xo
I never thought about creating my own postcards! What a cool idea!
Really enjoying your video series, Hanna! Thanks for sharing your creative process with us!
Hanna,
you�re so inspiring…I watched your videos and next day I made my own cards…:)
This is going to be my first swap and I am really looking forward to it. Love this whole idea of spreading some kind of art all over the world and connecting with other likeminded people, thanks for this oportunity…:)